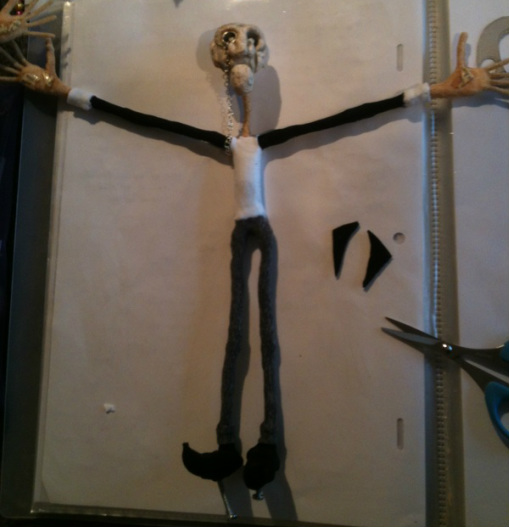
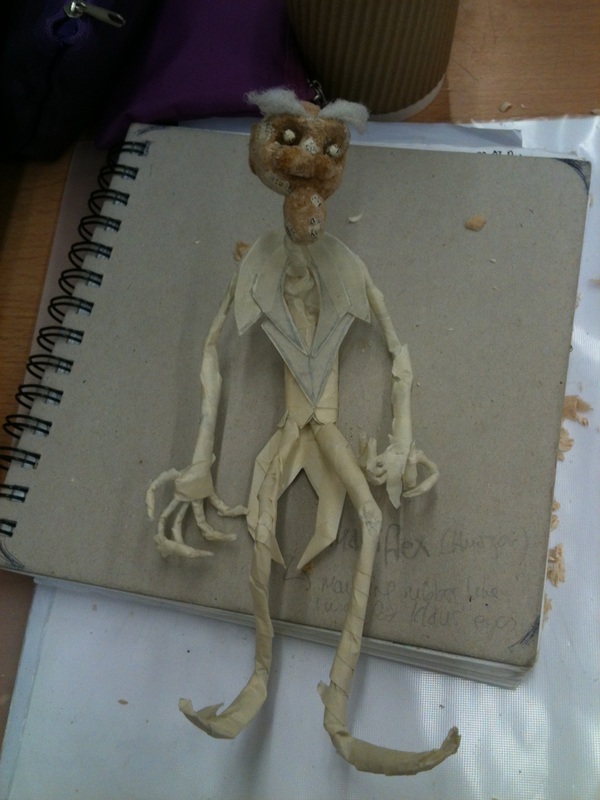
I have finished the clothing on both puppets. hooray!!
I first stitched on the layer that is 'skin tight' which included his shoes, trousers, shirt and jacket sleeves (see below):
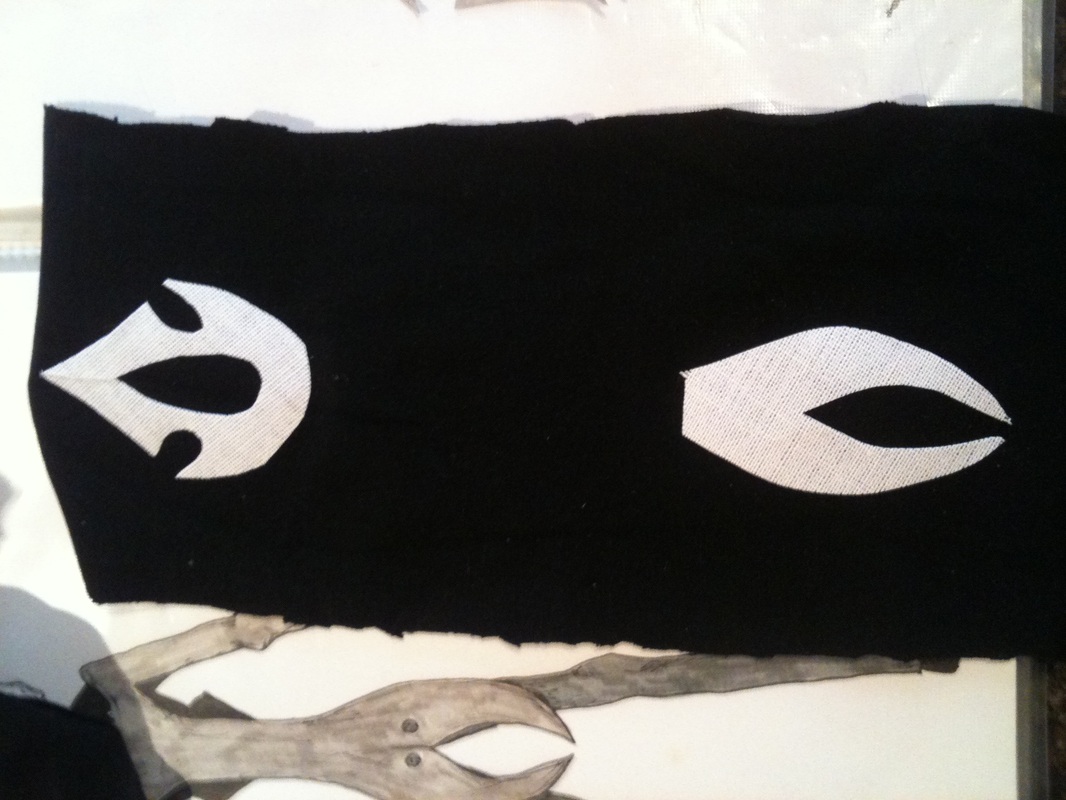
Next I made his jacket, which started out as triall and error, I had to discard the first one but then I worked out a good way of doing it.
I'm not sure what it's called, but I used a stiff iron on material ironed onto a large panel of the tights material I was using for his jacket, placed at carefully measured points. I then cut slits at the top of the jacket and tail piece meaning I could cover the backs of these sections but leaving them connected to the middle piece. I then cut neatly round these shapes and stitched around them in a grey thread with keeps the seam together but is also a part of the aesthetic design. I then measured the middle section to just fit around his waist and, hey presto we have a jacket! A few buttons and bits of book pages later it is ready to be stitched onto the puppets body.
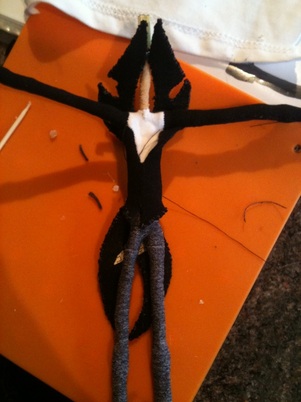
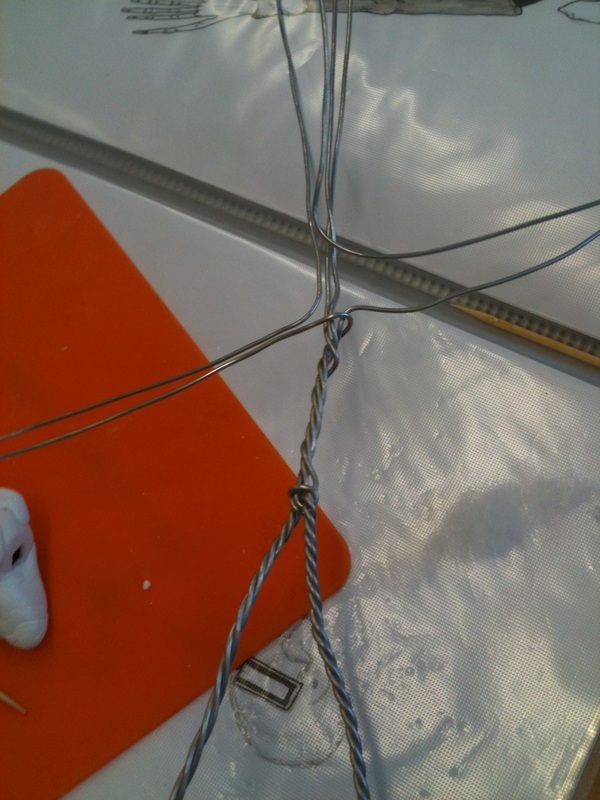
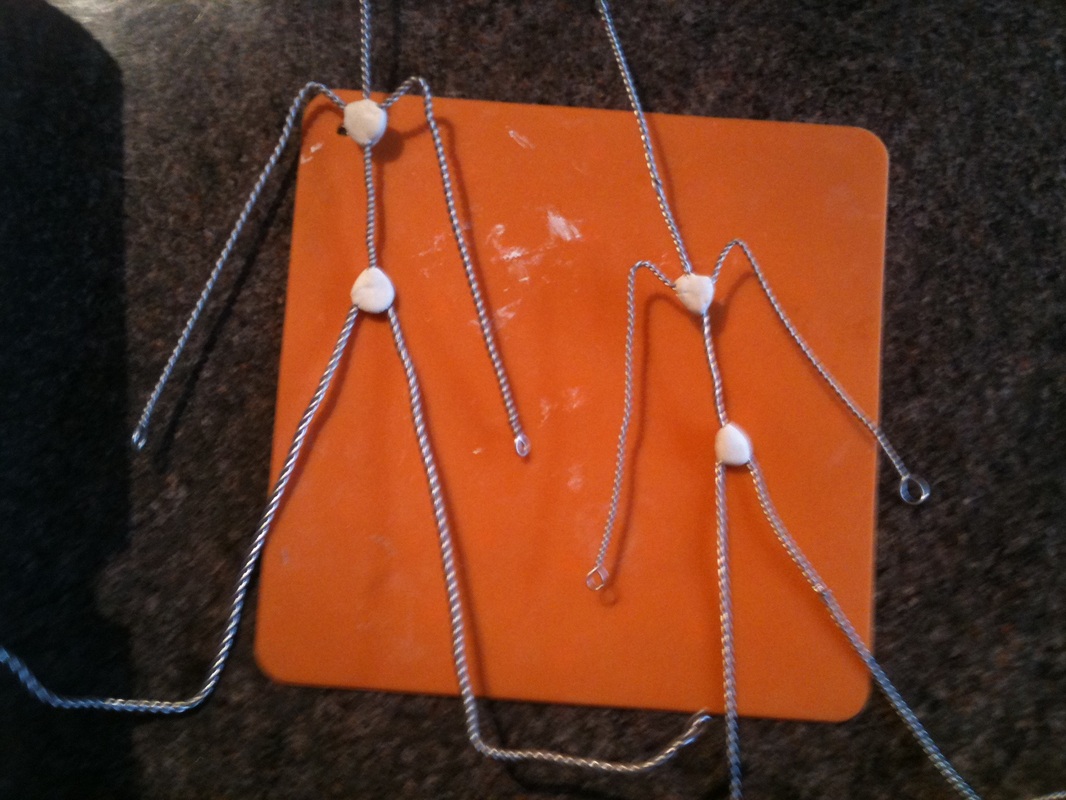
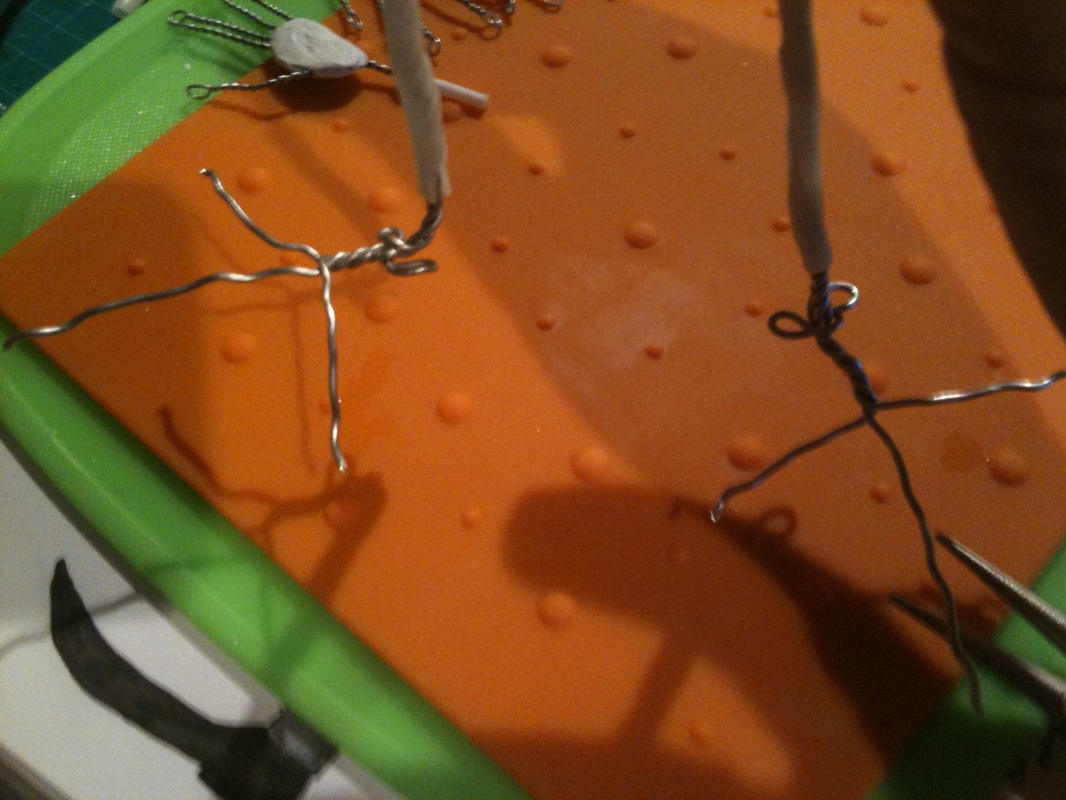
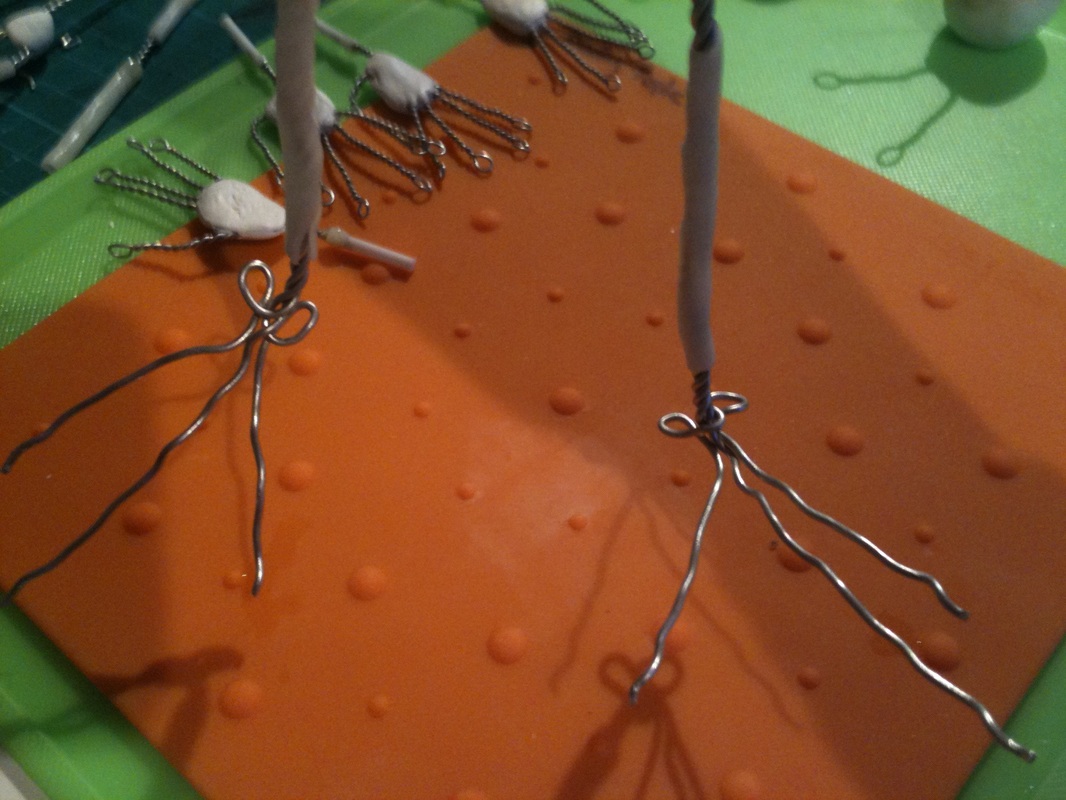
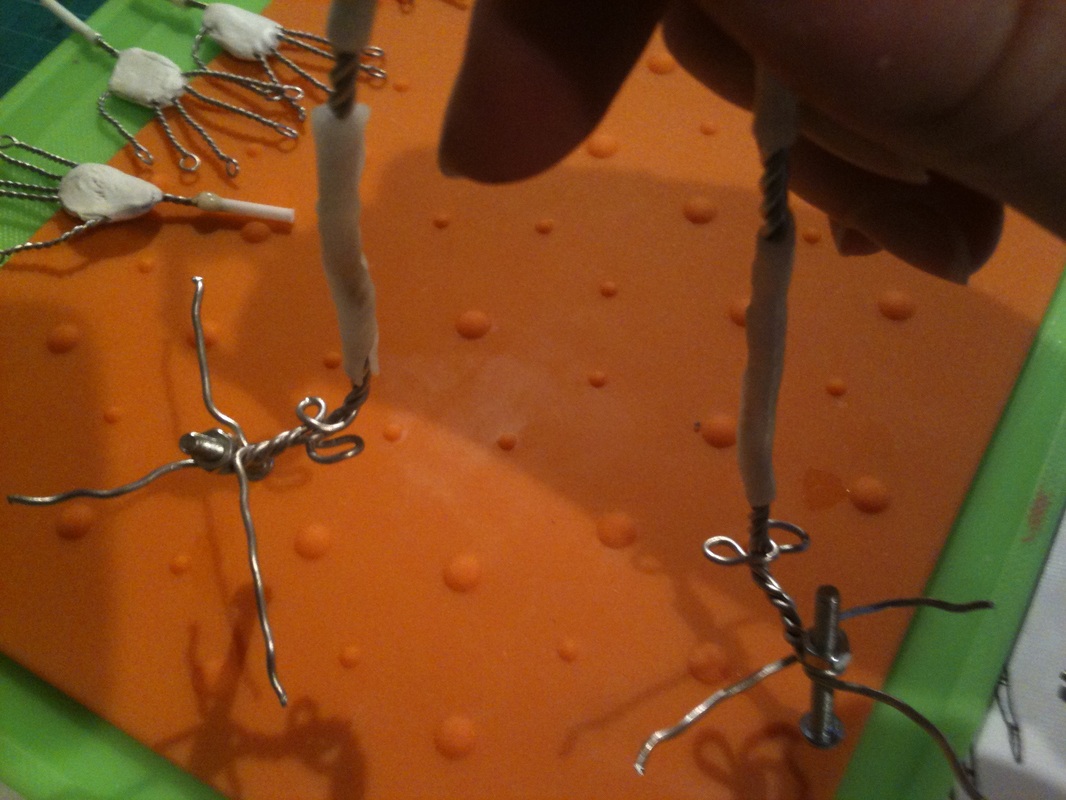
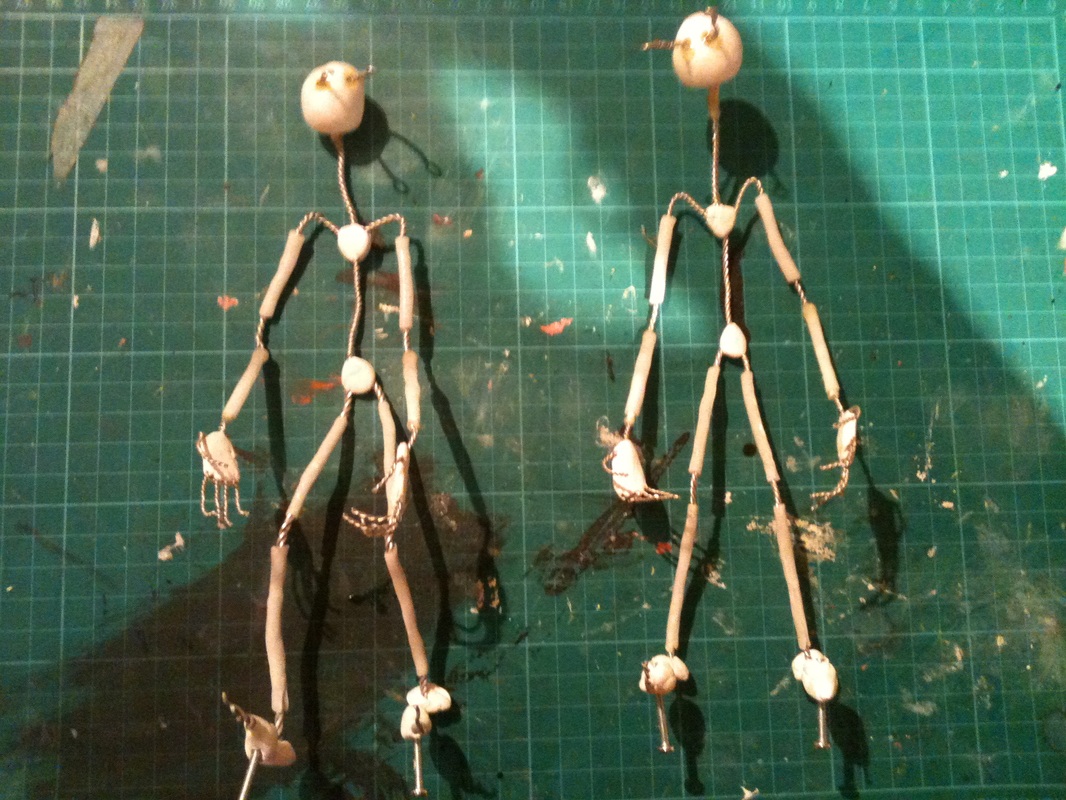
I have started to make the two final armatures for the puppets that I will use in the film. I decided on two puppets being enough as they don't have to do any excessive movements or wild positions, but if one decides to break then I do have a spare!
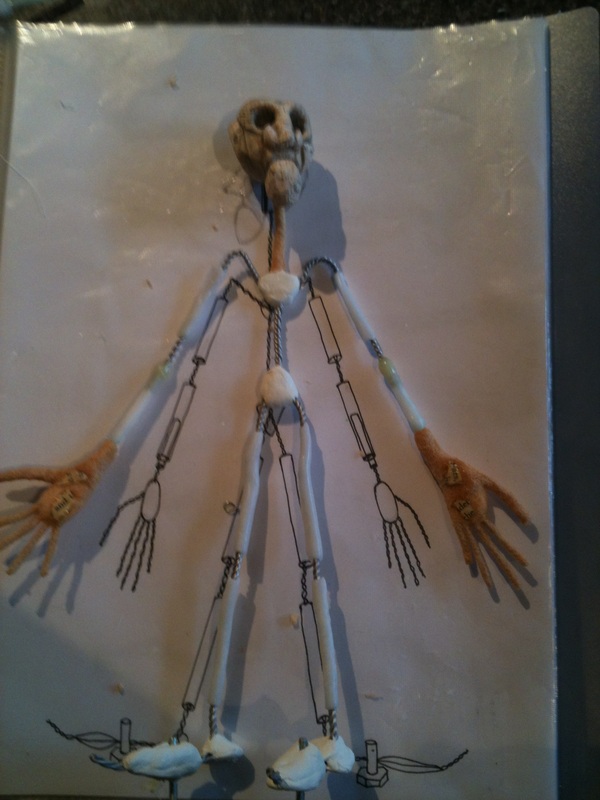
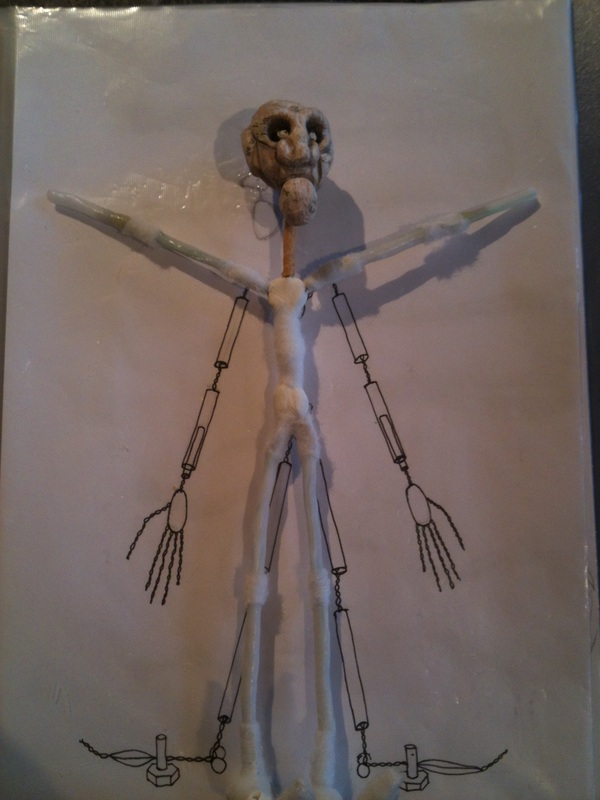
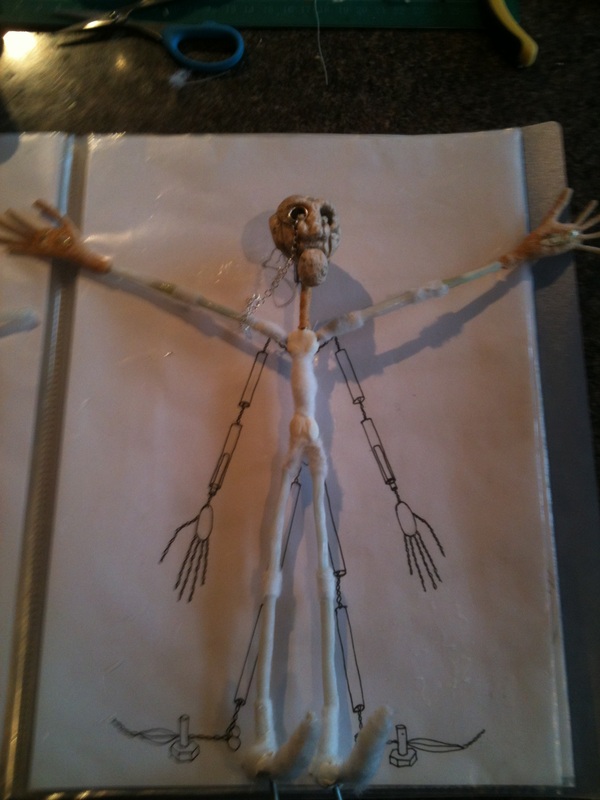
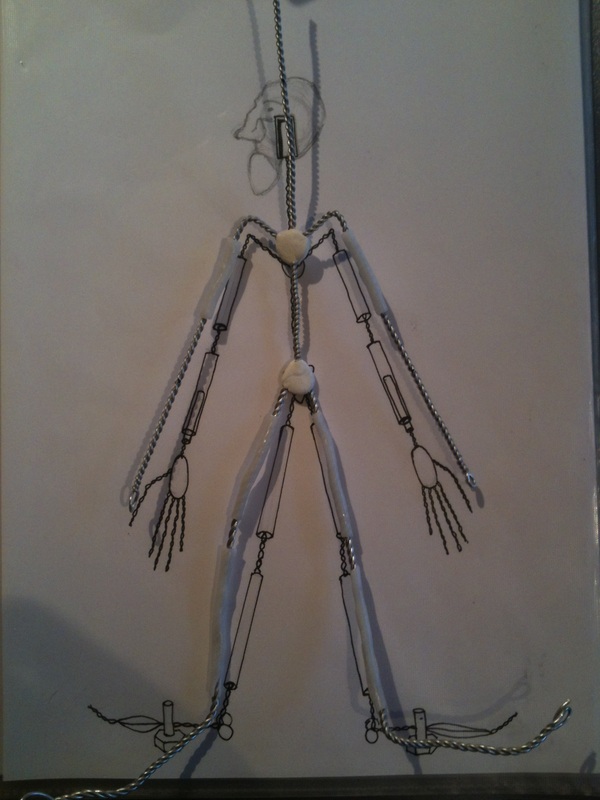
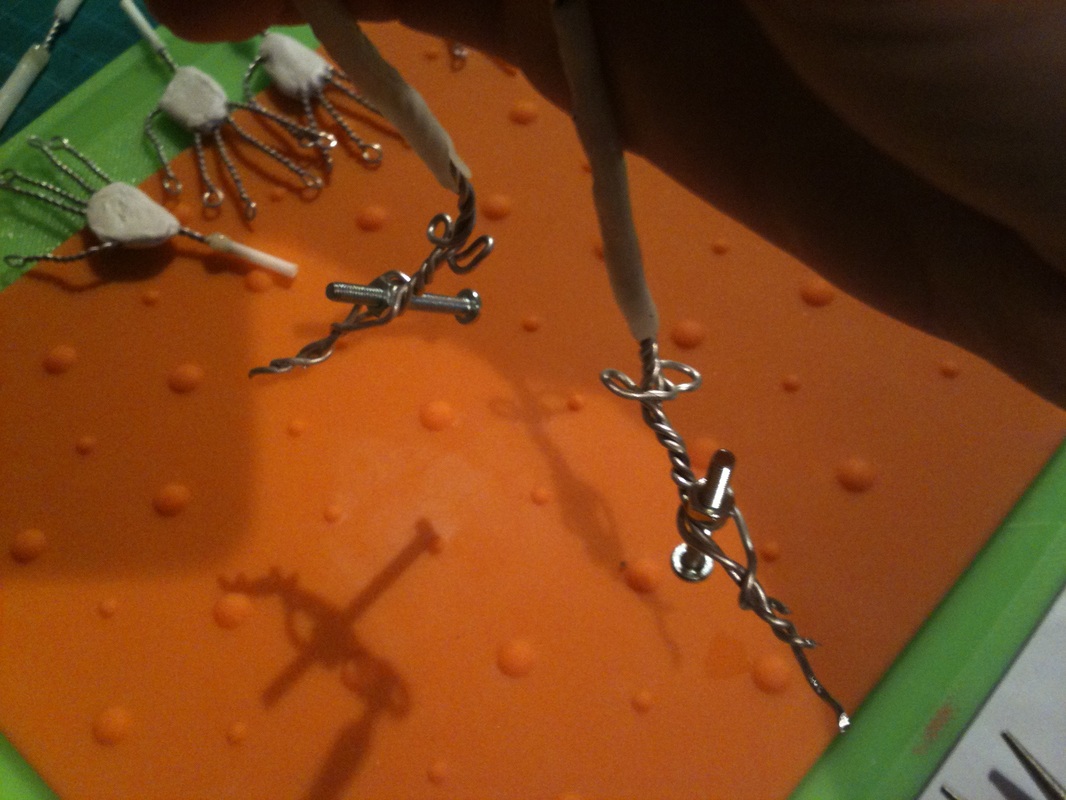
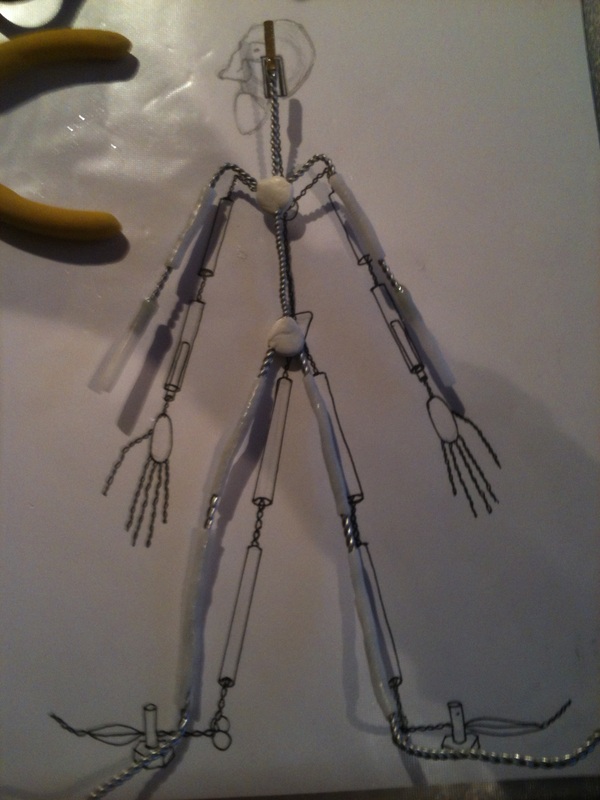
Wire, bones, K&S and tie-downs all in place:
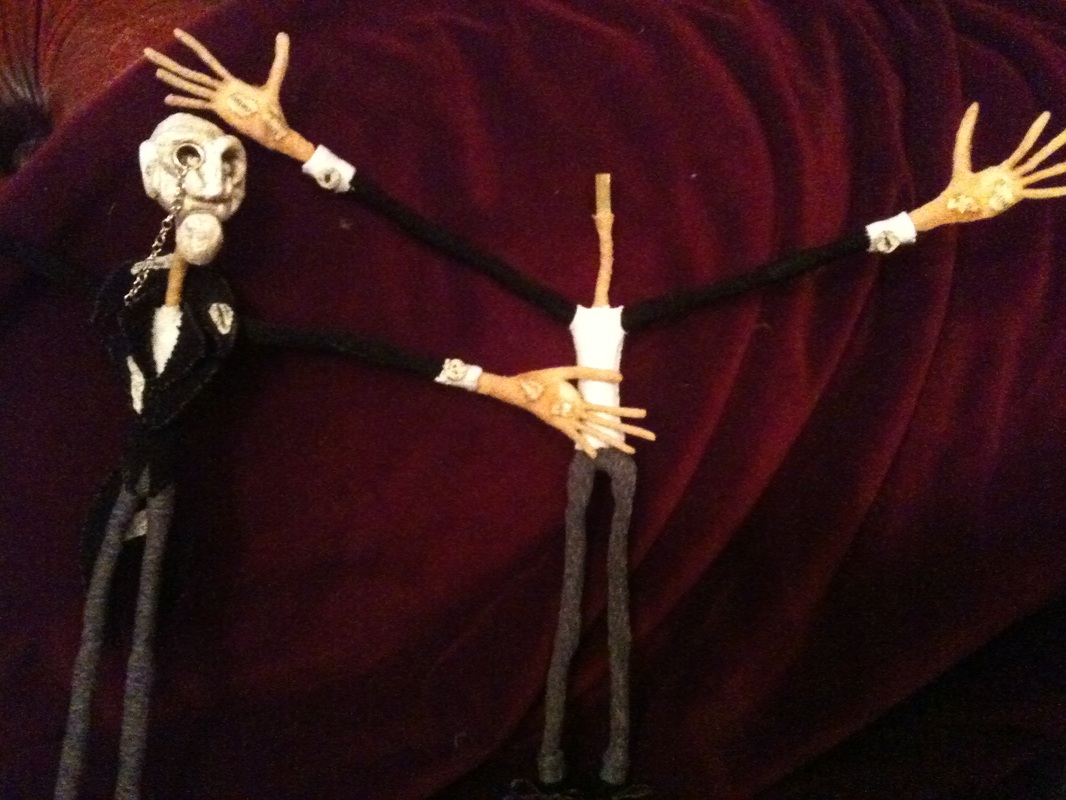
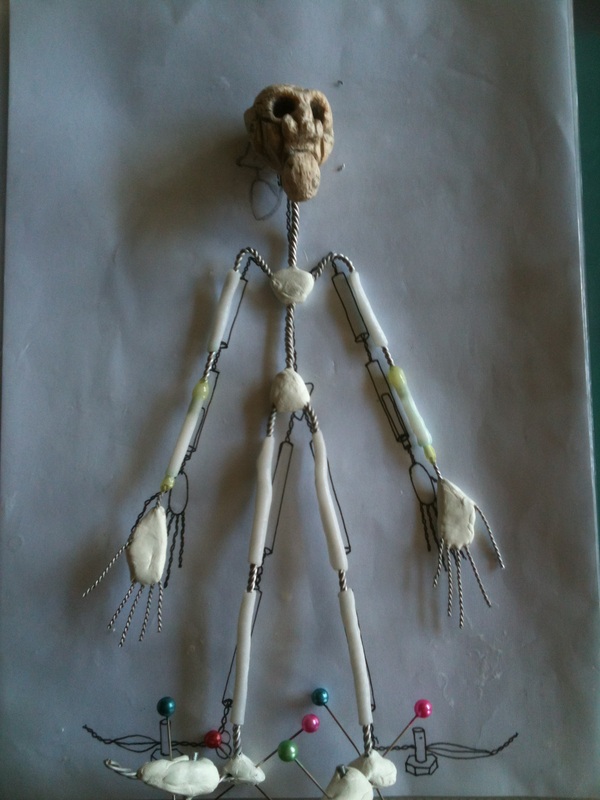
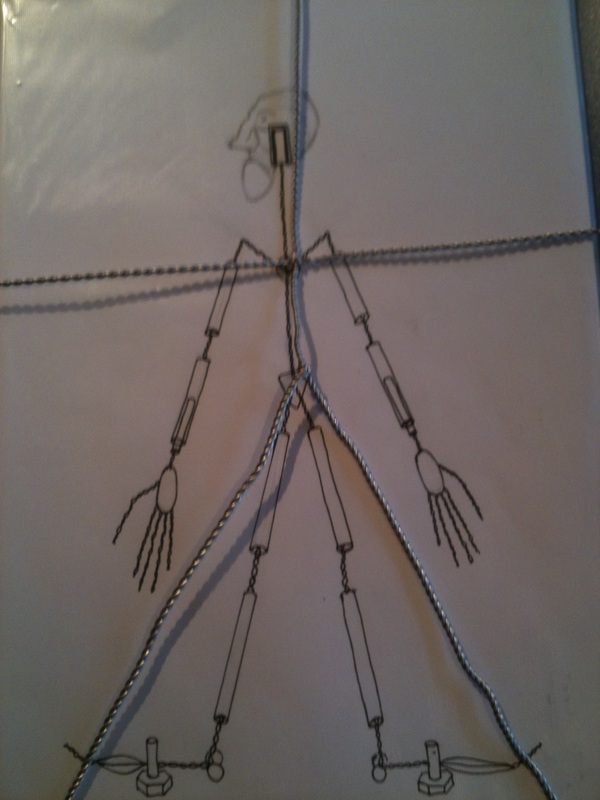
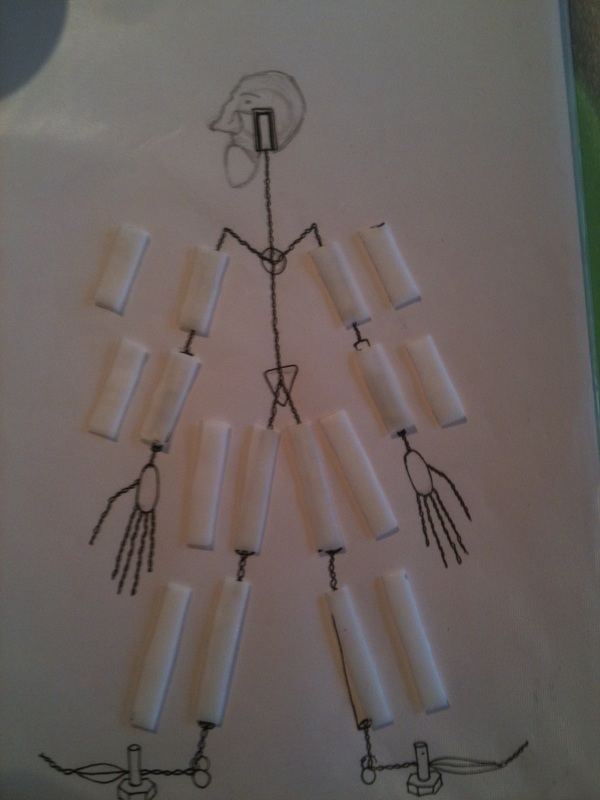
Against the scale drawing:
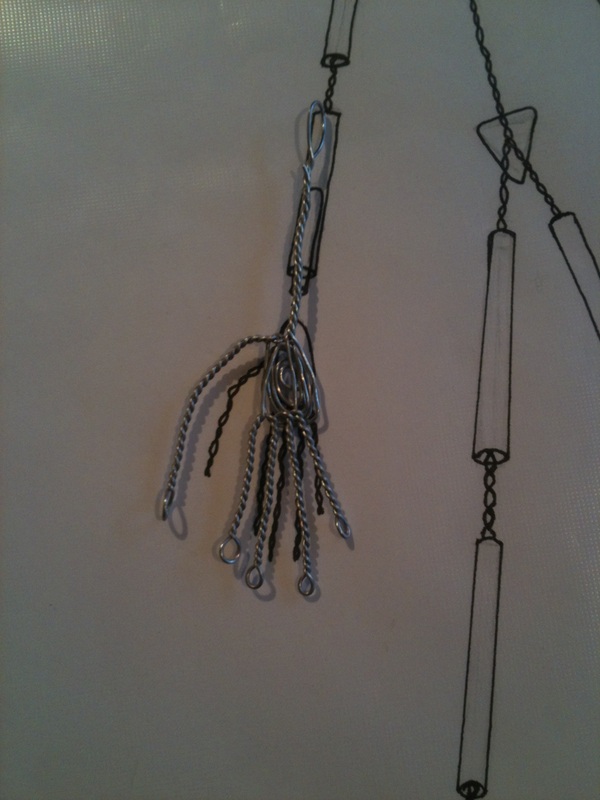
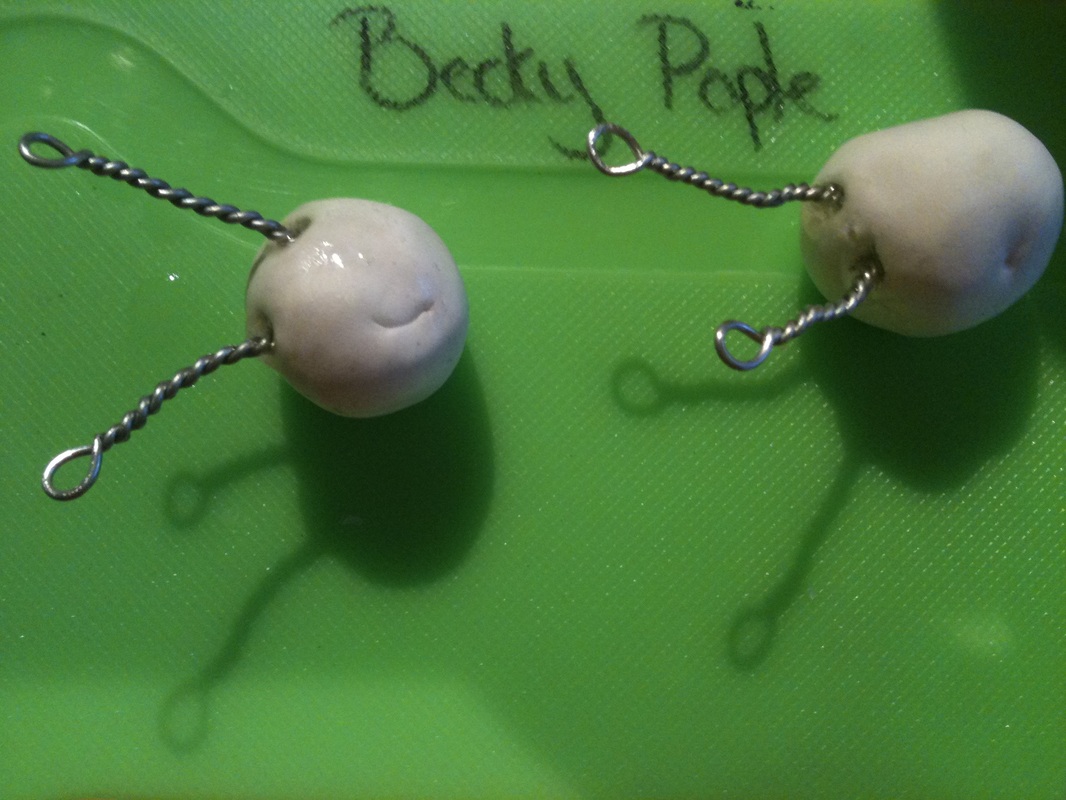
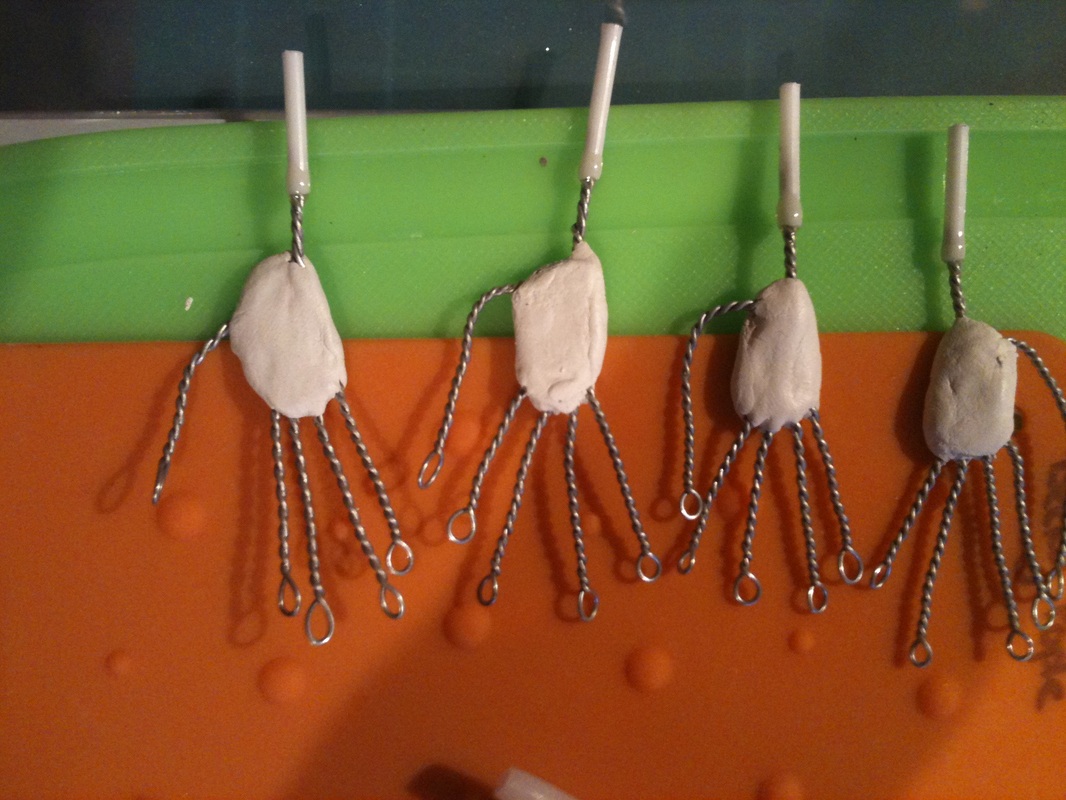
(I decided to make the hands slightly bigger for better screen presence and for ease of holding the books.)
With skinned hands:
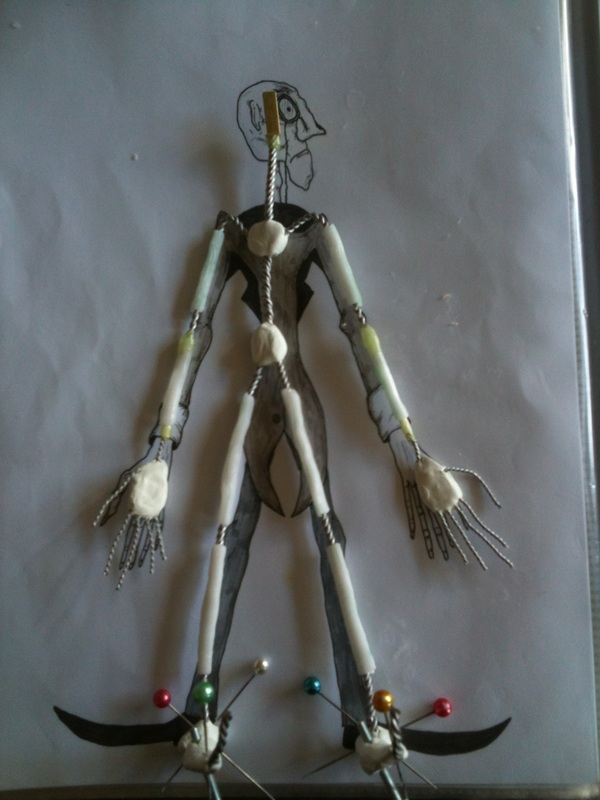
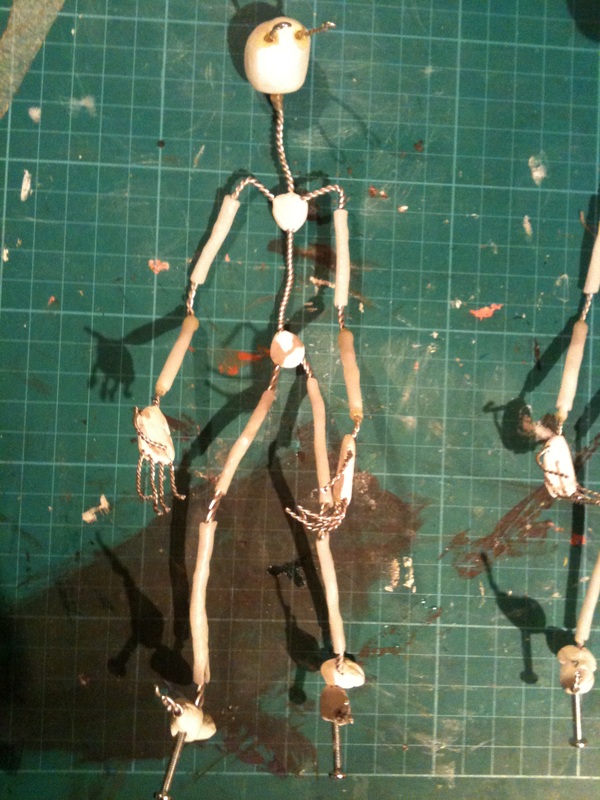
Wadding applied to the joints:
Hey presto! Time to start skinning...
I did an animation test for the moving eyebrows that I was planning on using on the puppets head. If anything I thought it made him look quite comedic which is not what I want in the slightest so I am going to scrap this idea. I will probably still give him eyebrows on the final head, just not ones that move!
I have mocked up really quickly a new marquette so I can visualise the new body shape, which was altered alongside the new storyboard, in 3D.
I then tested this under camera to make sure it worked well, and that the shape of the body wasn't difficult to read on screen. I am happy with this marquette.
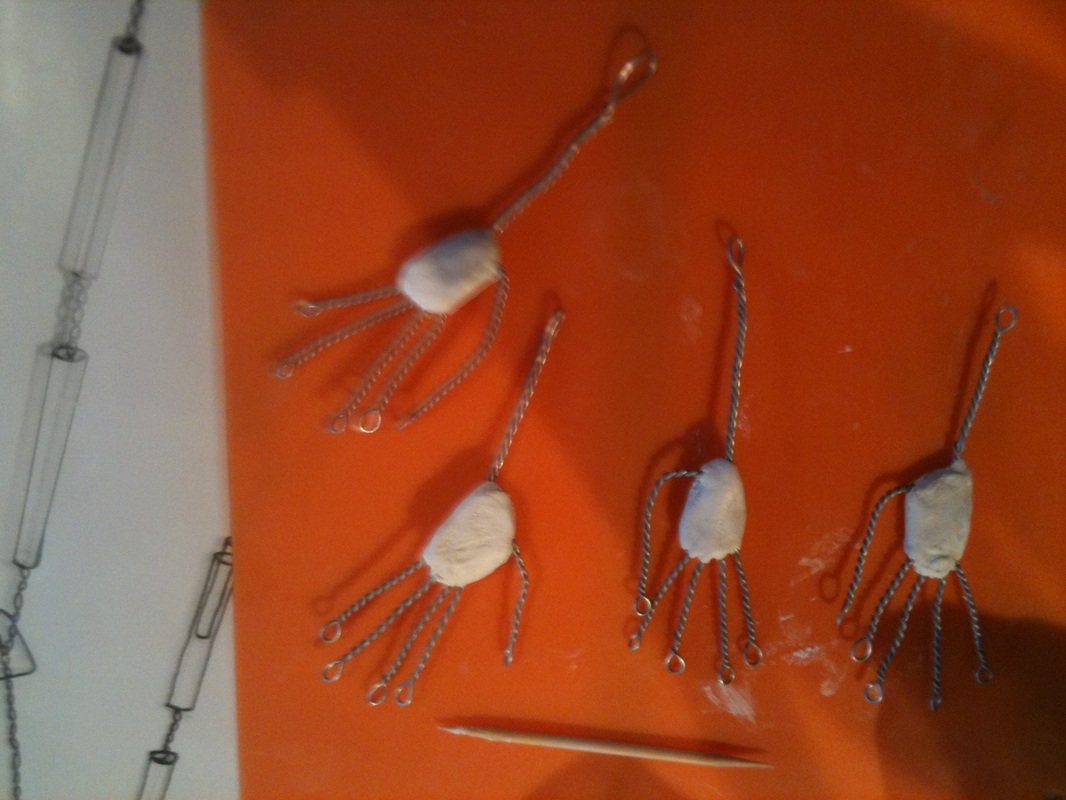
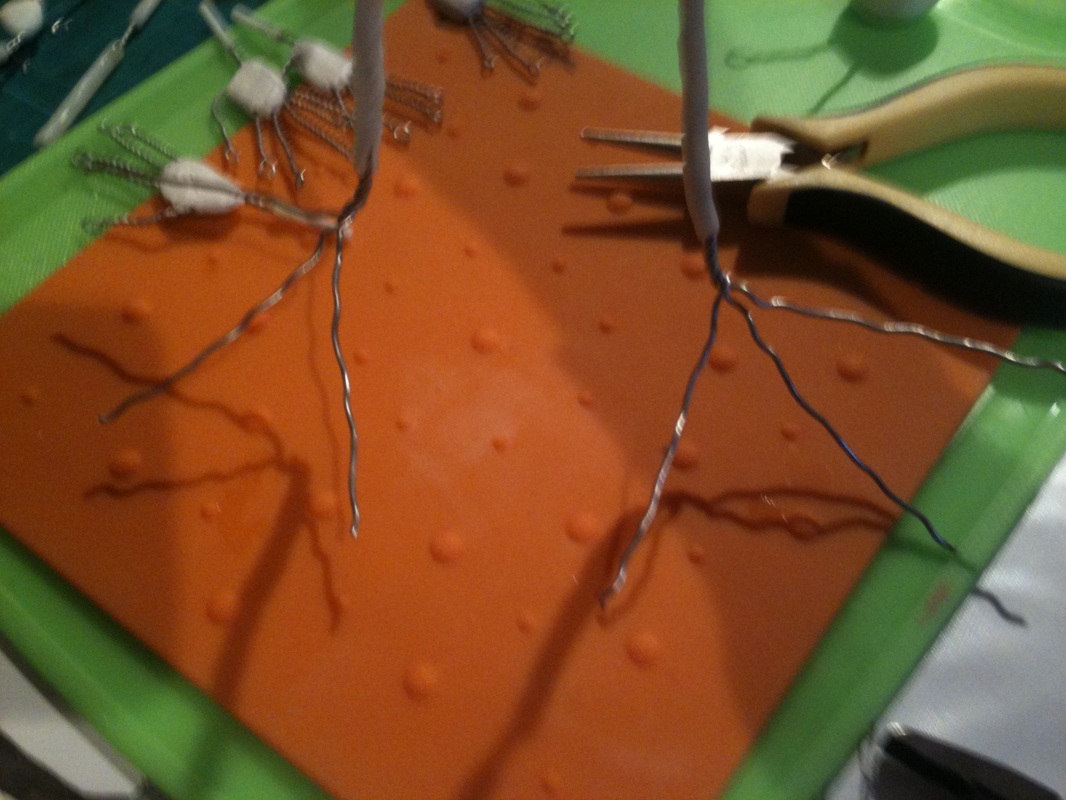
I have started making protypes following the last scale drawings that I posted up here. I have decided to make two, each out of different thickness wire so I can see which better suits my puppet.
Here are some images of the making of the armatures:
| | Above: twisting the wire
Left: applying milliput to the chest and pelvis
|
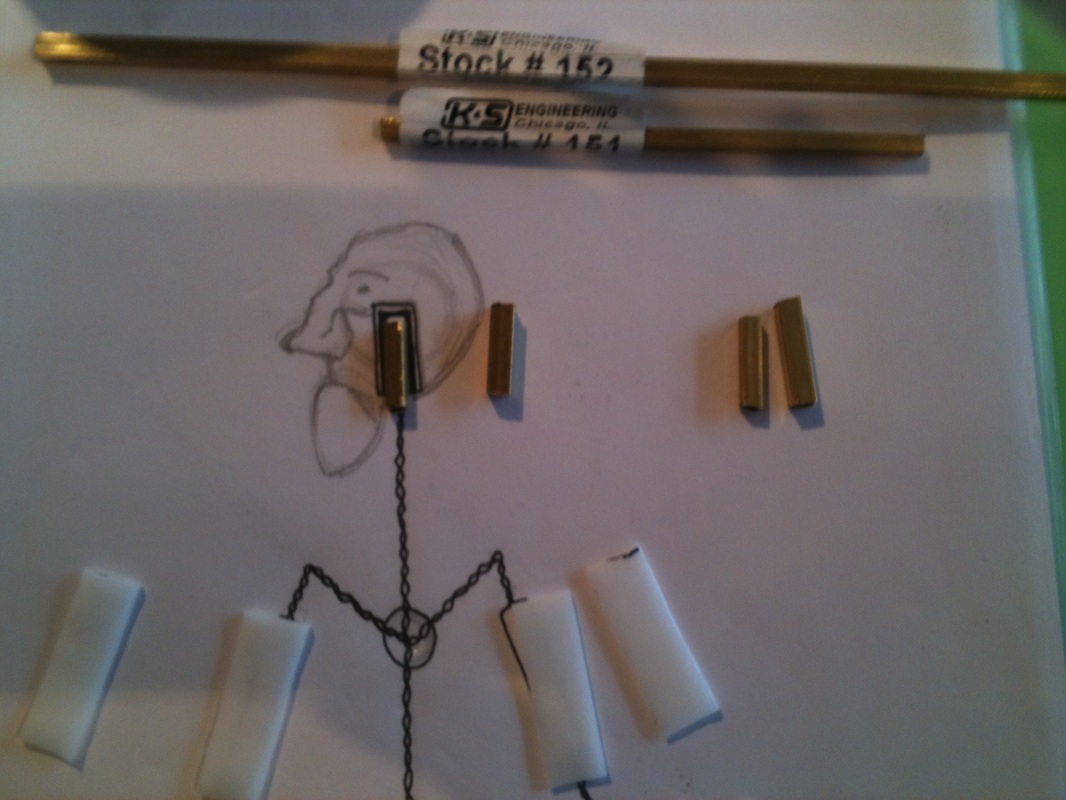
| | Left: measuring out the ploymorph bones
Above: measuring out the K&S in two different sizes
|
| | Left: the wire hand armature
Above: applying milliput to the palms
|
| Attaching the bones to the wire
Lightweight head core and eyebrow armature
Above: making the tie-downs in the feet
Right: the finished product
| Attaching K&S to the wrists Attaching wrist bones which contain slot for hands to attach
|
Left armature is made out of 1.2 mm wire, the right is 0.9mm.
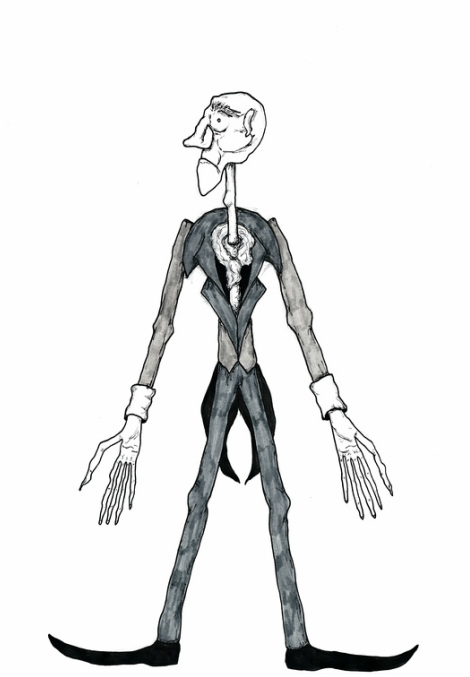
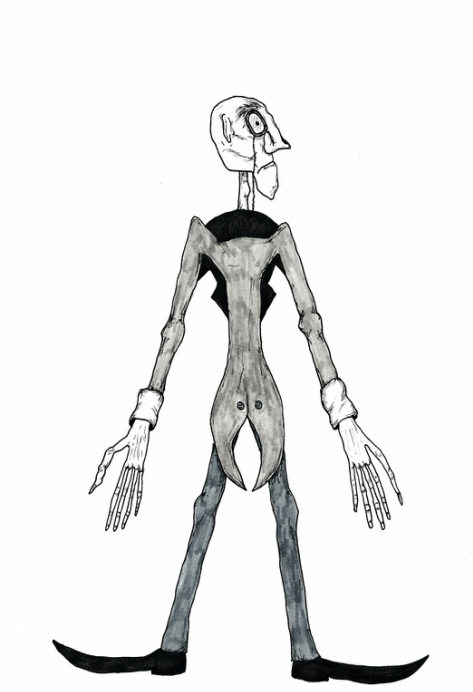
This is the product of my day today. I've been working on a new scale drawing of the librarian puppet along with a new design for the armature. Following my previous designs with the abnormally positioned shoulder joints and finding these didn't really work, I have re-worked my design back into a more 'normal' human body shape. I have also re-worked his outfit so that the coat tails are on the back as the main shot of his whole body is from behind him and will look better on screen.
I'm still yet deciding on the design for his head armature, it depends on what materials I use to create it. If I carve his head out of balsa wood then he wont need a lightweigh core, the K and S will slot straight into this, however if it is made out of paper mache or mod roc then it will need a lightweight core for the K and S to sit in.
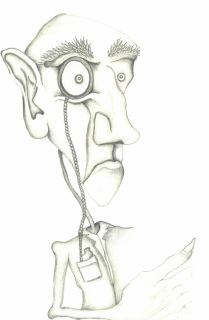
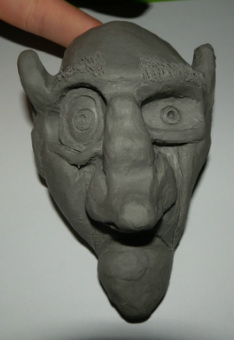
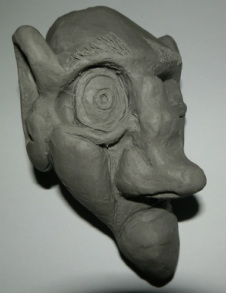
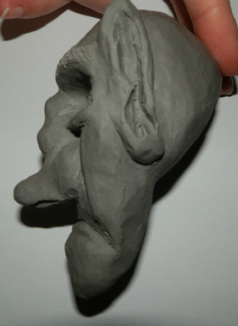
I wanted to be able to visualise the Librarians head shape in 3D as I have currently been working from the 2D image I had created of him. I have therefore made a 3D version out of sculpting clay. It was quite hard to translate from 2D and I'm not sure it works as well or is as visually appealing in 3D form, I definitely don't think it works too well from a straight forward point of view but at least I have a 3D form to work from now. Time to start experimenting with materials!
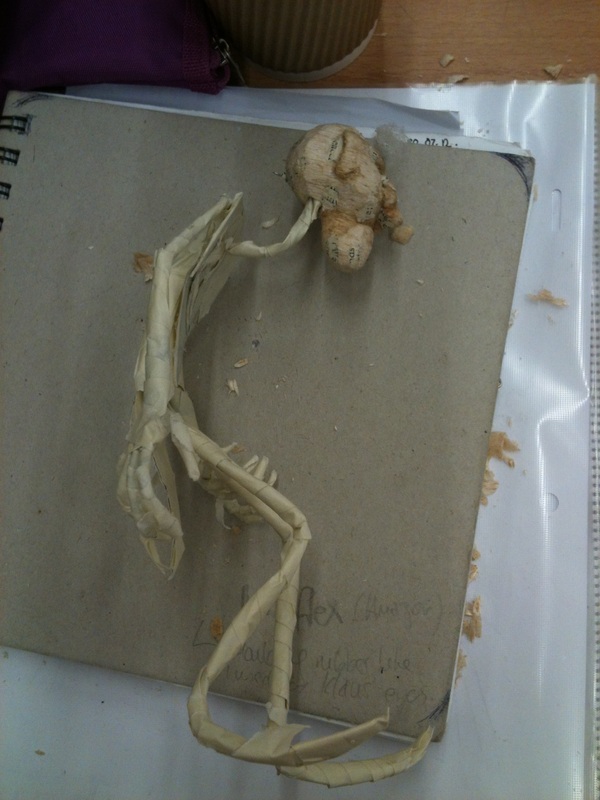
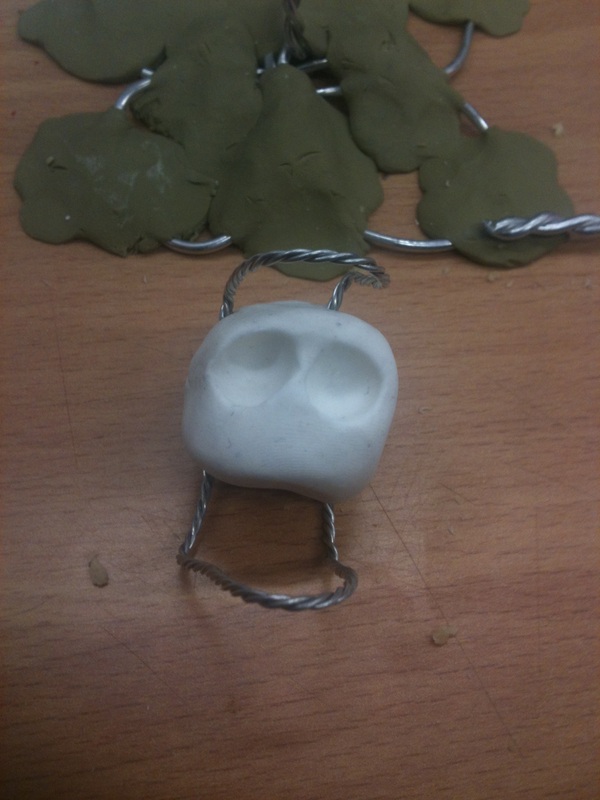
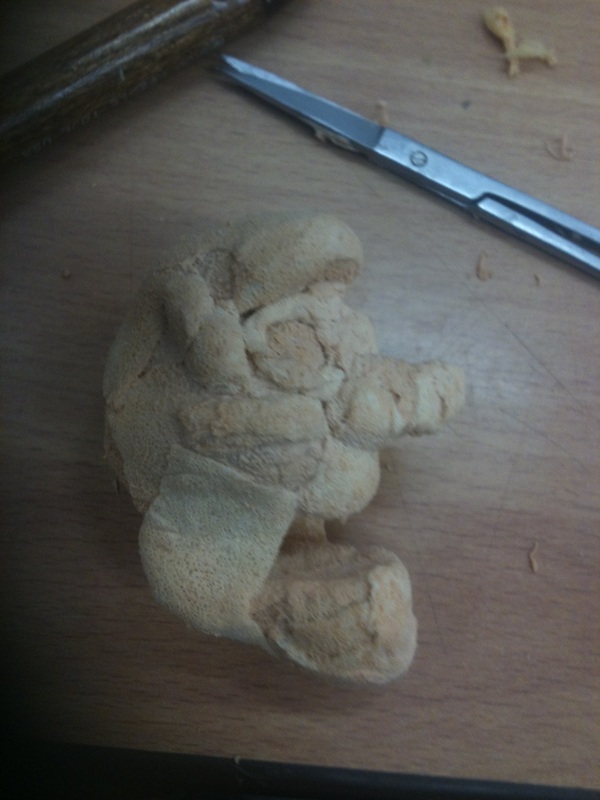
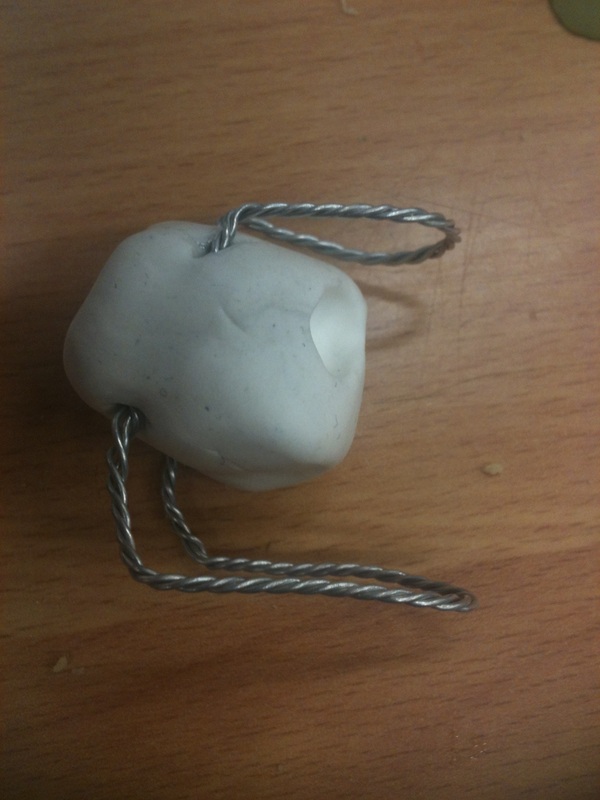
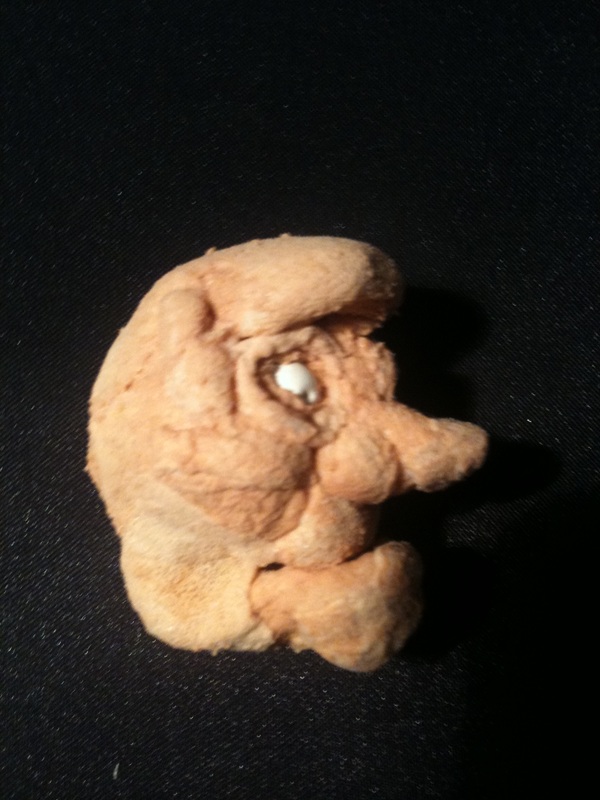
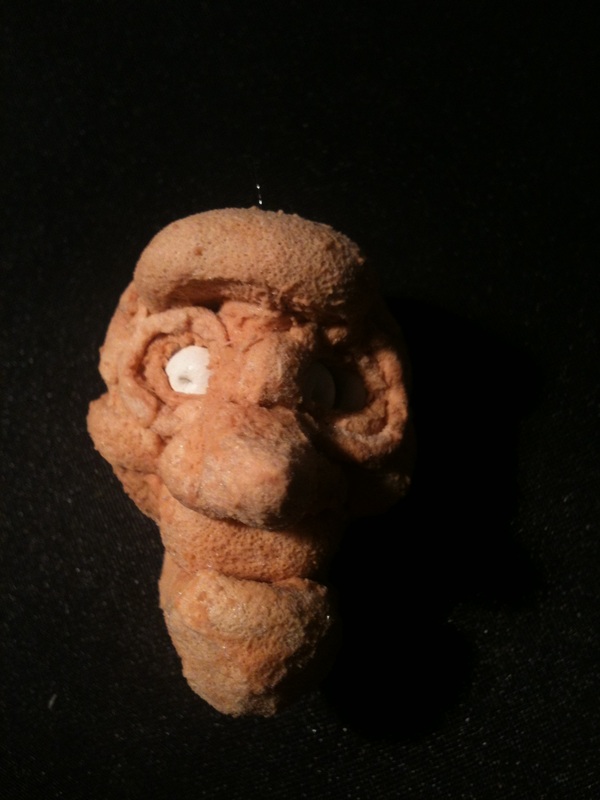
After making my prototype head armature in the workshop, I thought I would have a quick go at making one that was in an attempted style of my Librarian. This was handy as I got to have a go at making a VERY small head armature that would be around the size I would need to use in the actual final puppet. I had to admit this was a very rushed trial so the aesthetic quality isn't as much of a success as I would have hoped to achieve.
| |
However despite this fact I think I am coming to the realisation that in using foam and latex to create a moving head (brow and jaw) it is detracting from the look I am trying to achieve: angular and sharp. I need to explore other materials (but might give this another go in less rushed circumstance just to make sure)!
|


 RSS Feed