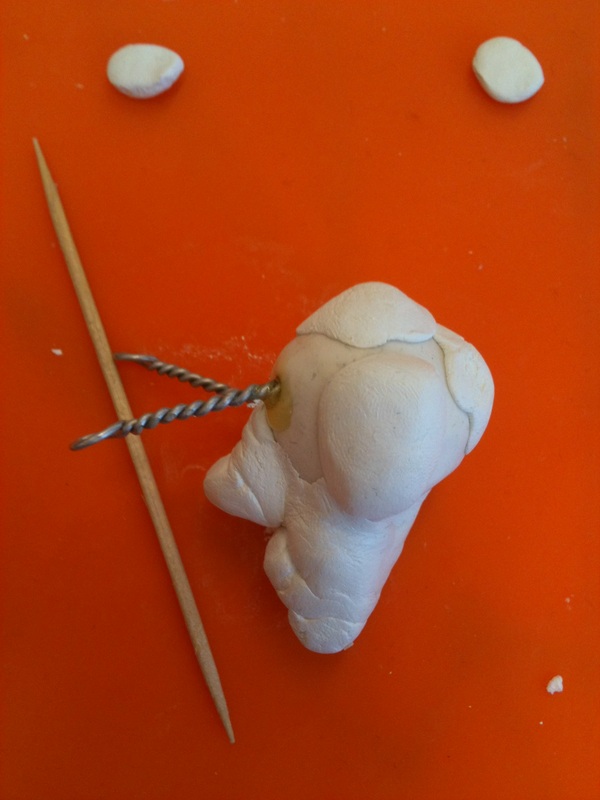
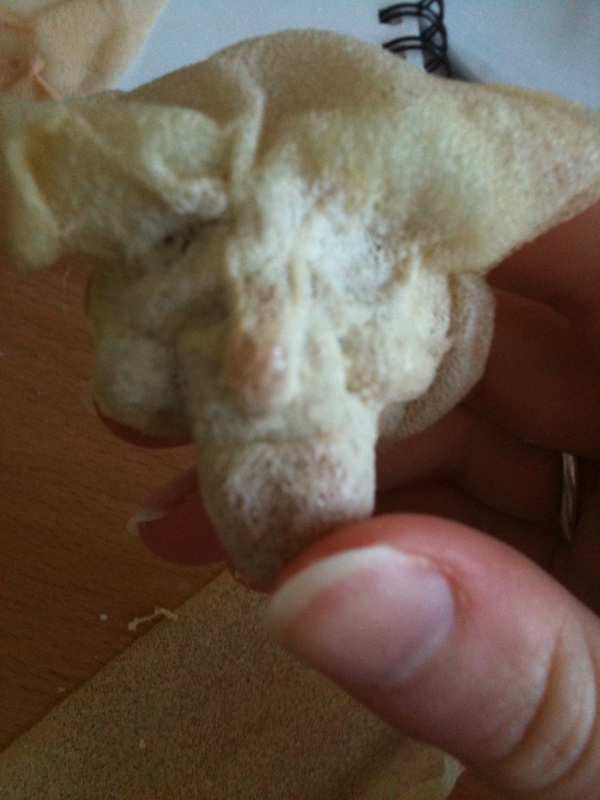
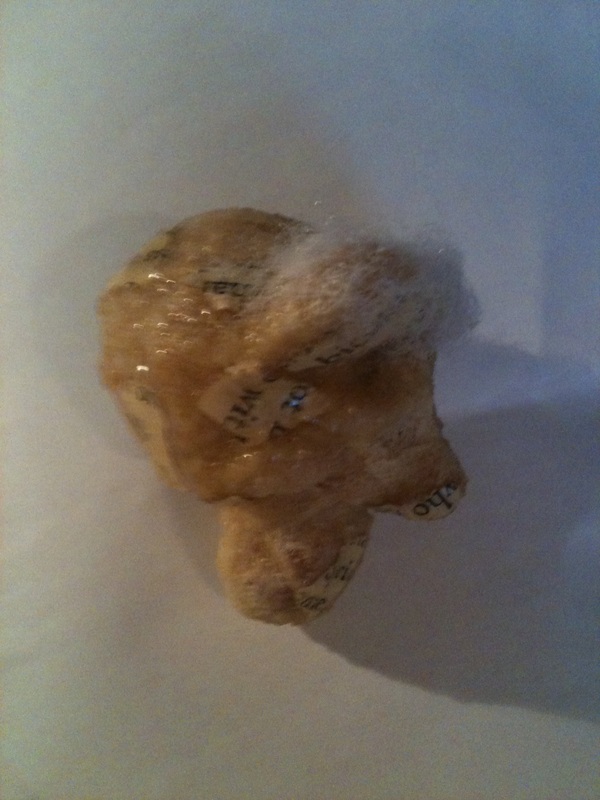
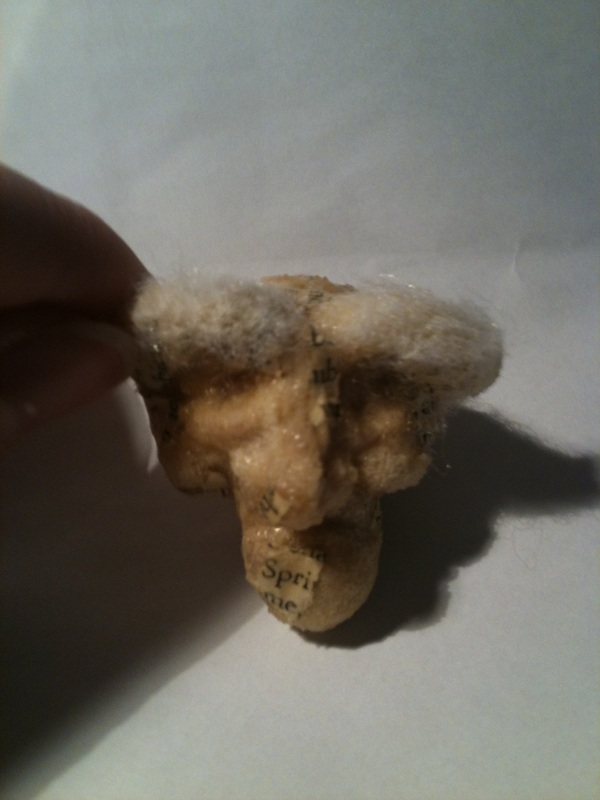
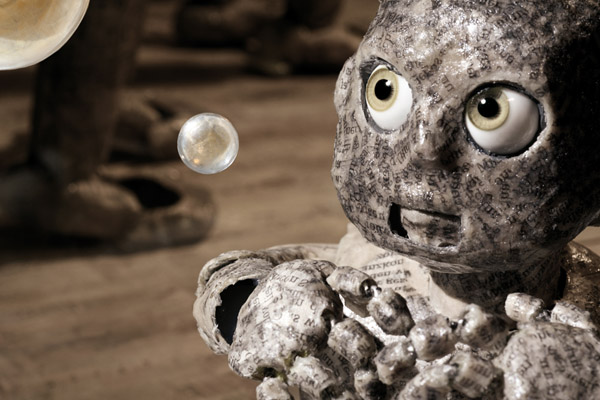
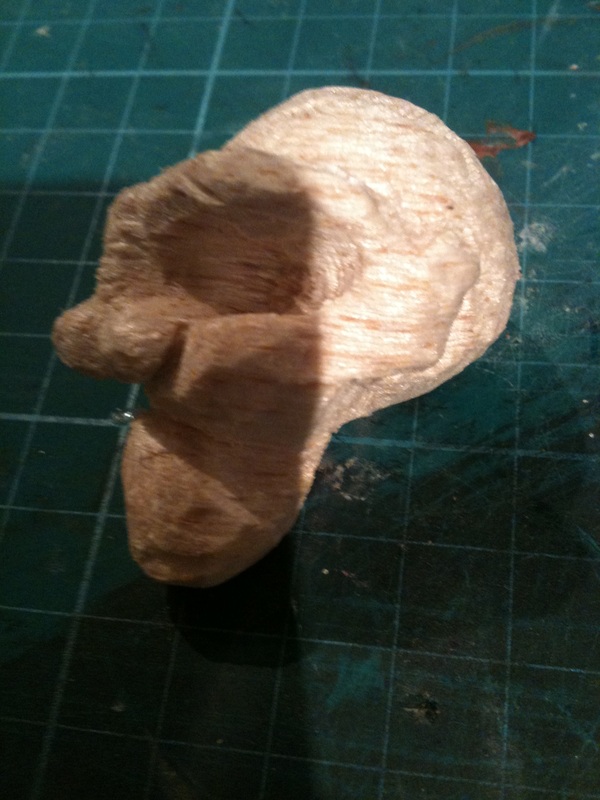
| After my tutorial, it was suggested that I try adding very fine sporting injury foam dipped in latex and applied with spray mount ontop of a sculpey head. Once layered it can look like paper.
Firstly I wound some wadding around the eyebrow armature. I then sprayed a light layer of spray mount over the head and applied the foam with almost dried latex onto this. I used a coctail stick to tease it into the ridges on the face.
| |
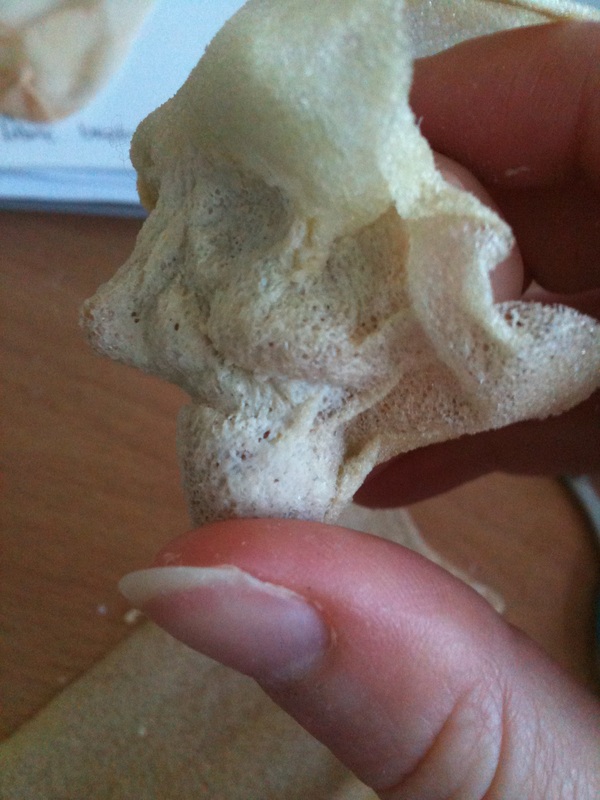
Once I covered the whole head I added bith of ripped up book page onto the surface.
I was surprised at the end result that it did have a papery quality to it. However it was also quite shiney due to the application of the latex so I would like to test this head under camera to see if it does look too shiney.
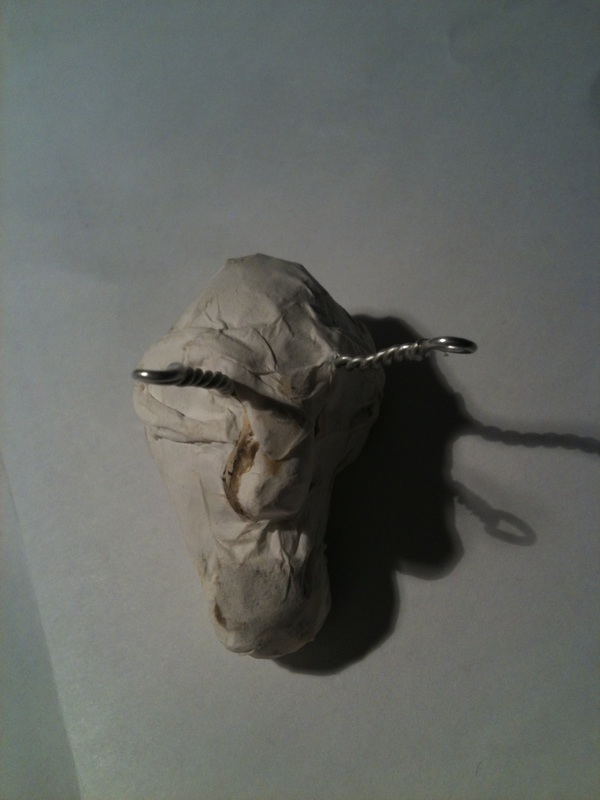
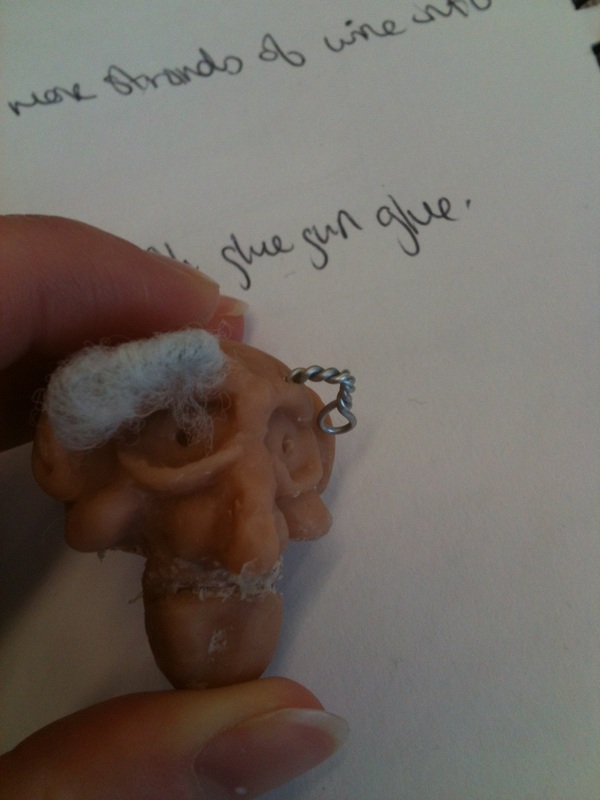
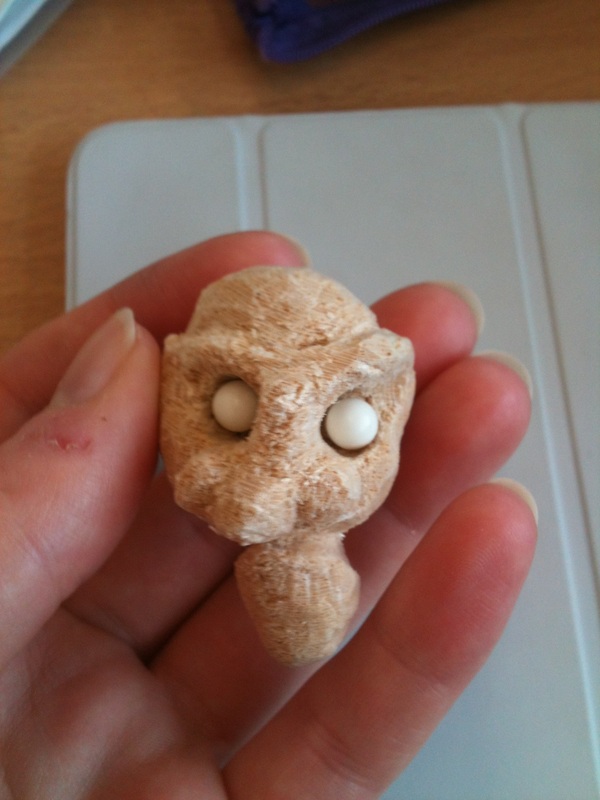
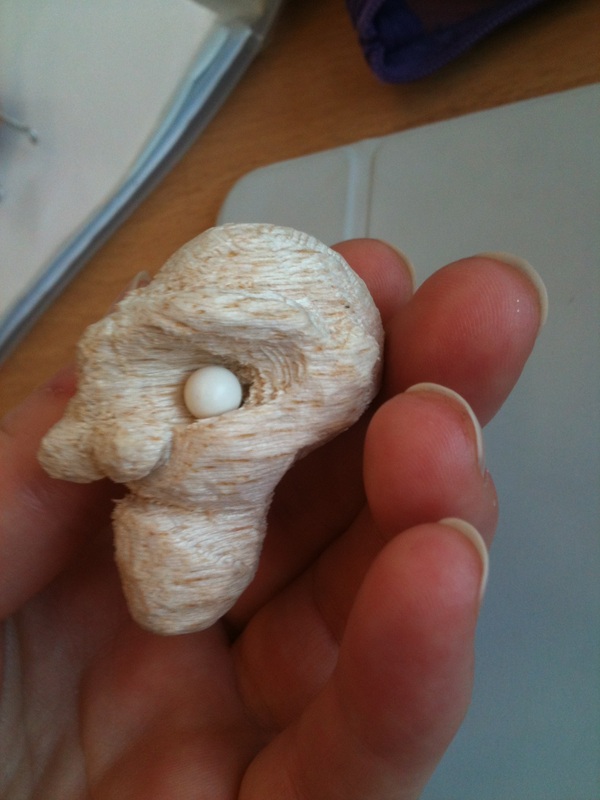
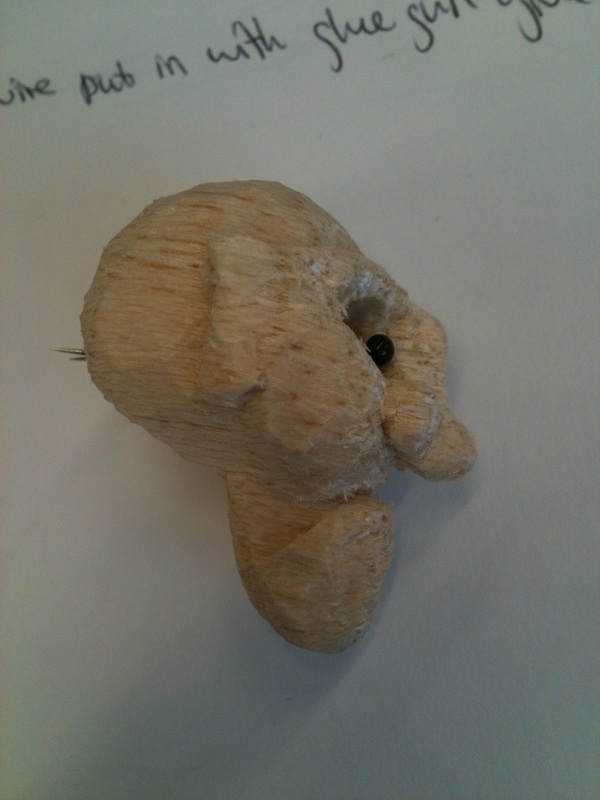
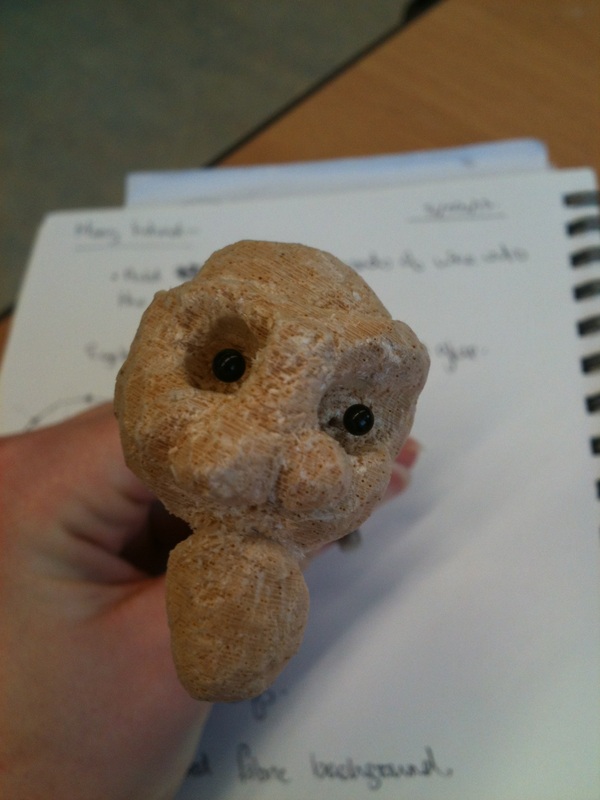
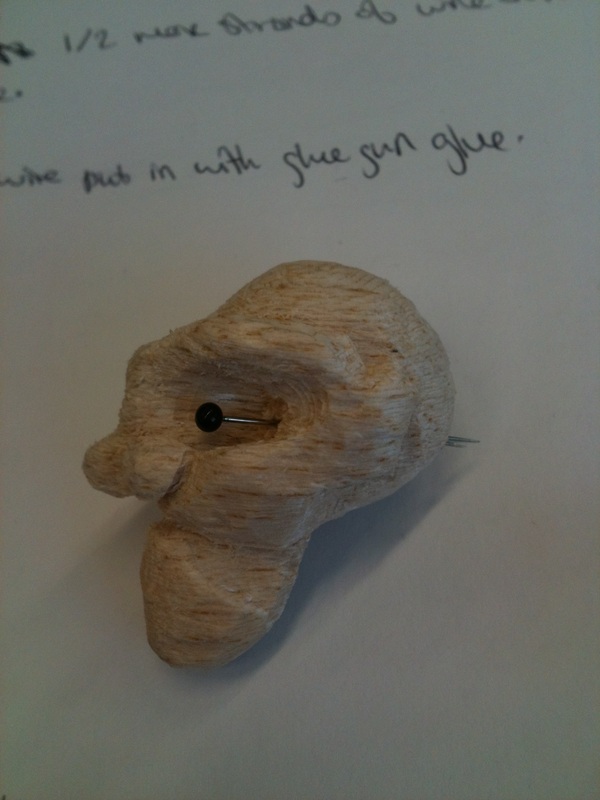
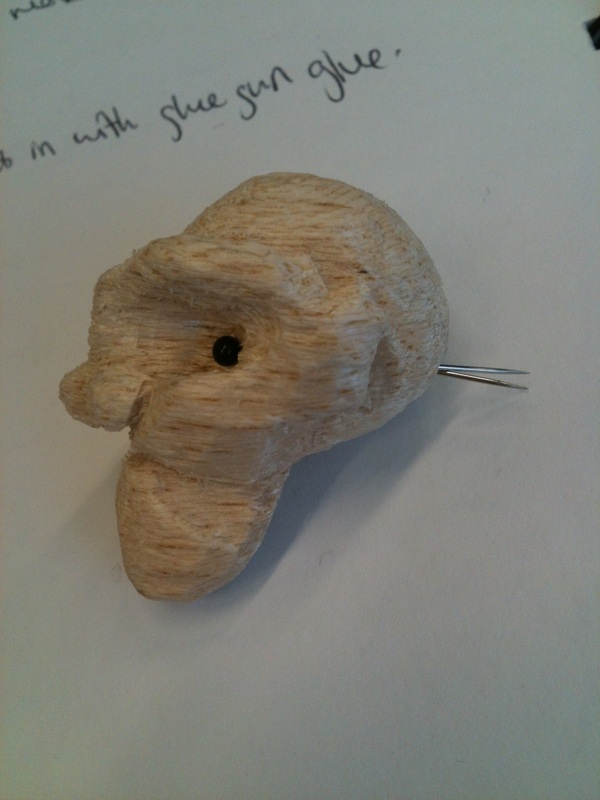
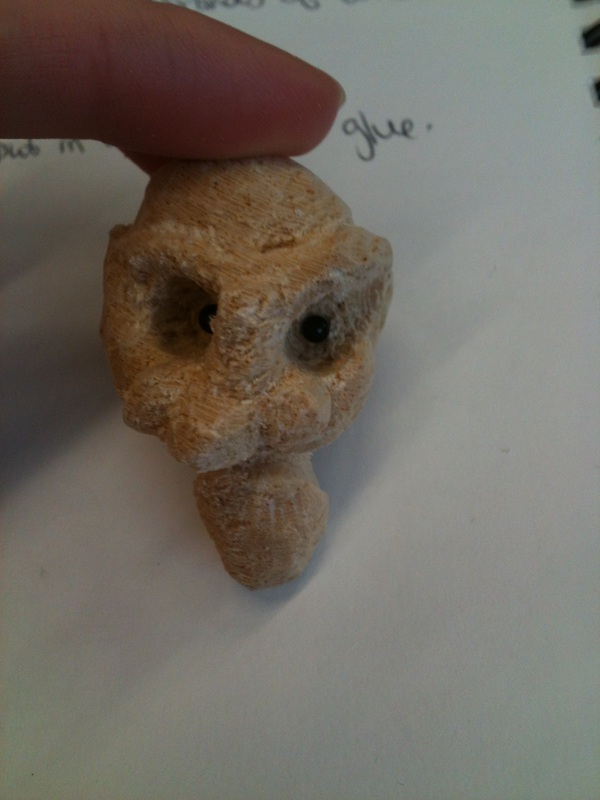
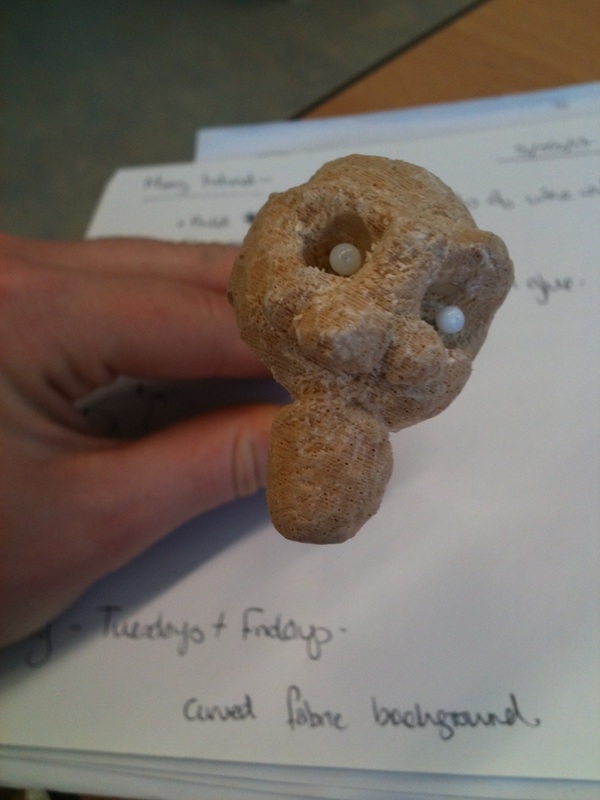
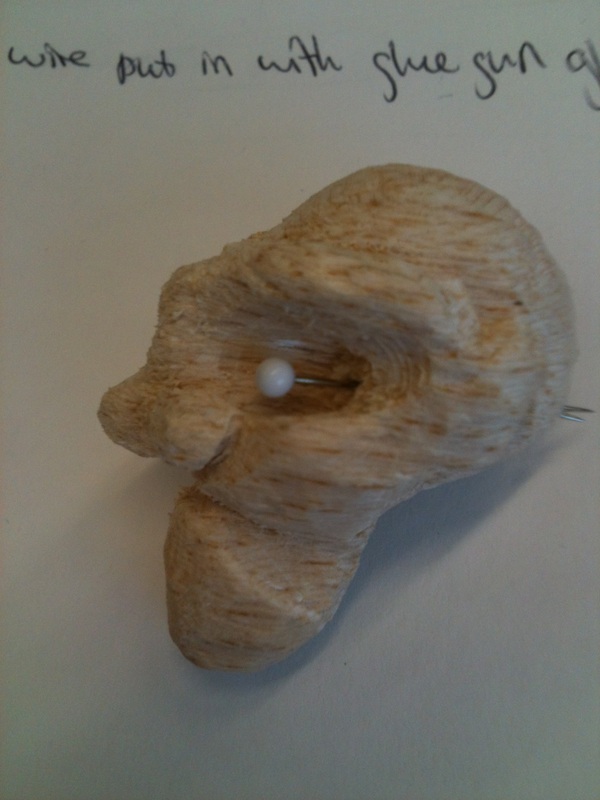
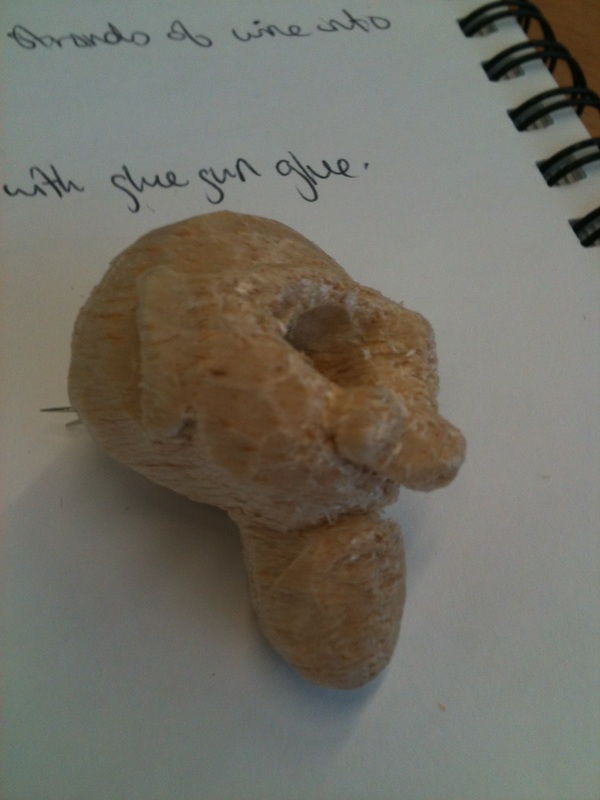
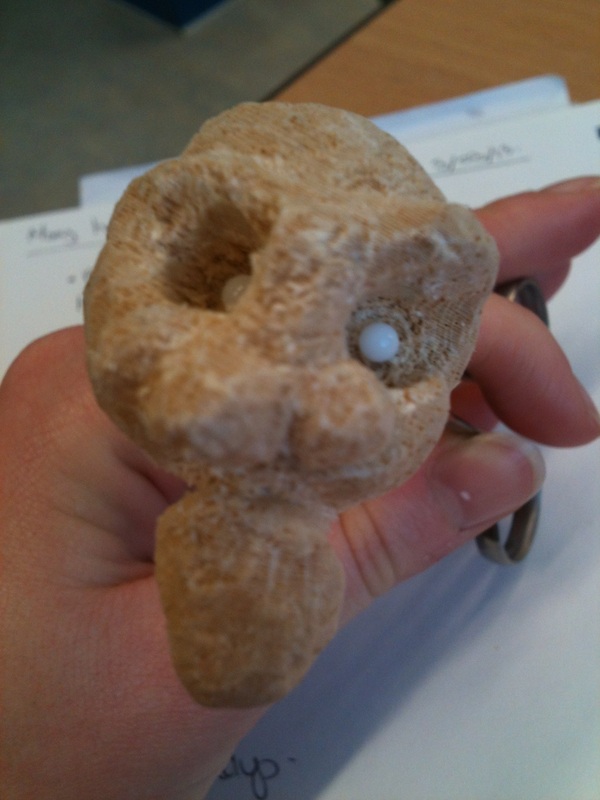
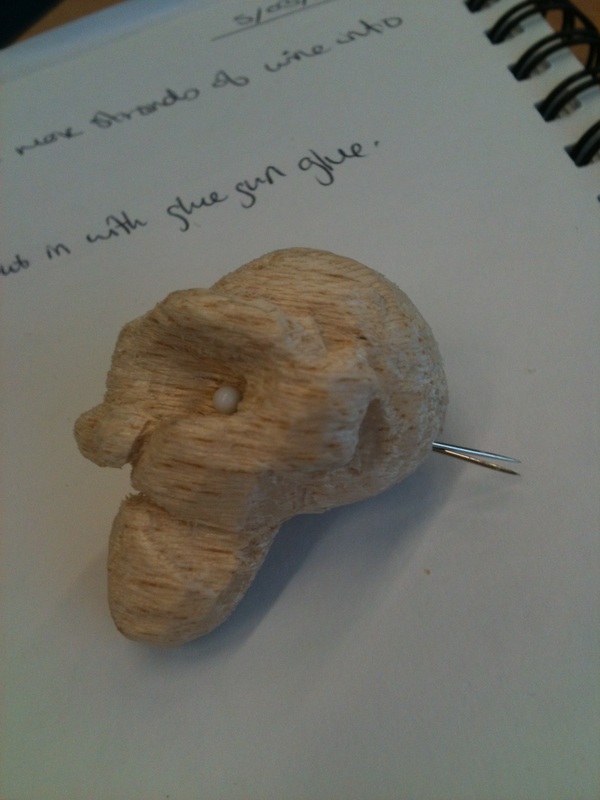
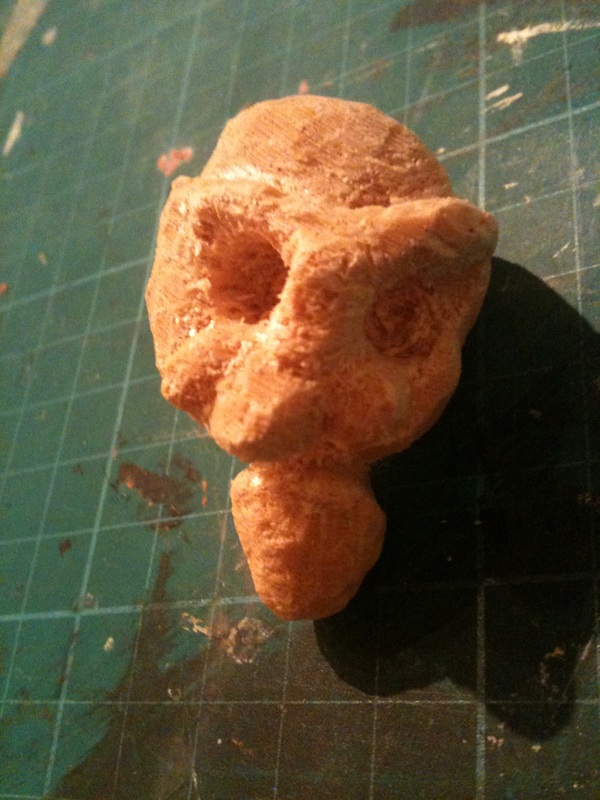
After my meeting with the stop motion technician I tried out her different suggestions for eyes in my balsa wood head:
Dowling balls
I quite liked these but they are too round in terms of what I want the aesthetic to look like.
Black pins - raised out of head
I really liked the suggestion of using pins and in particular thought the black pins raised out of the head worked particularly well.
Black pins - set in head
White pins - raised out of head
White pins - set in head
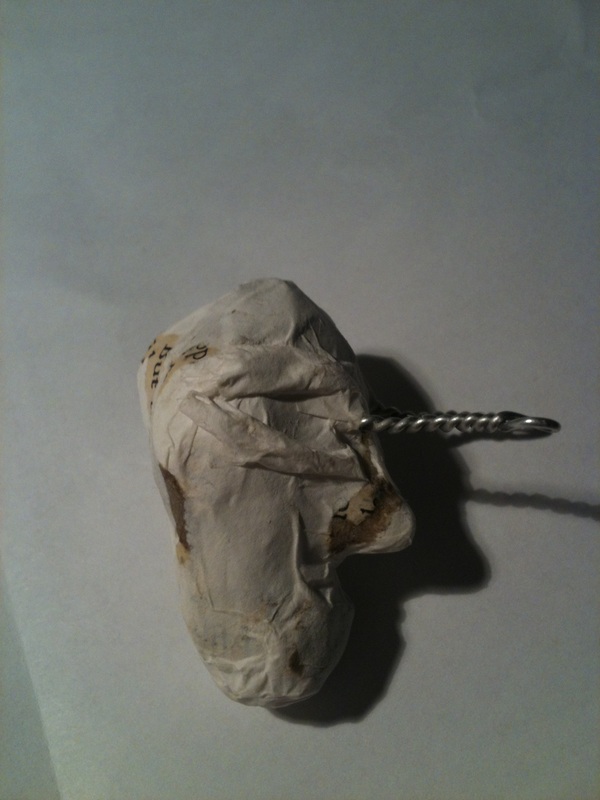
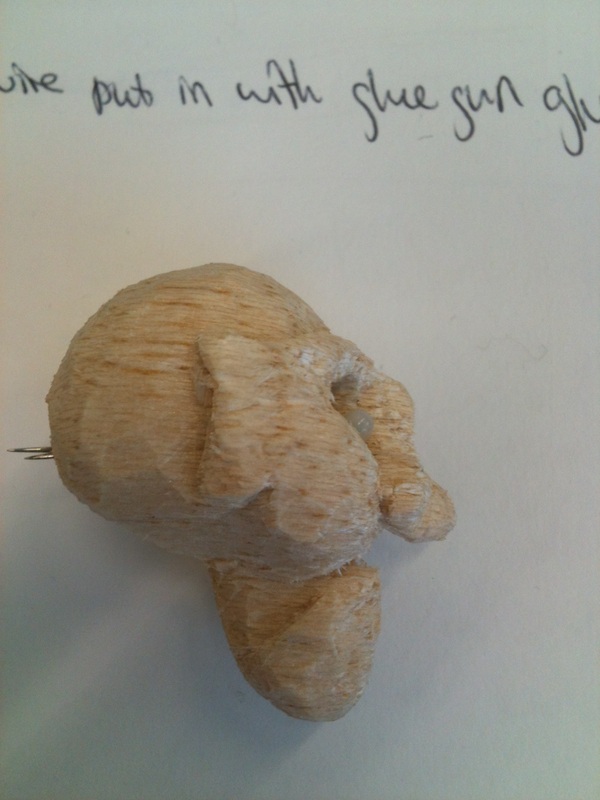
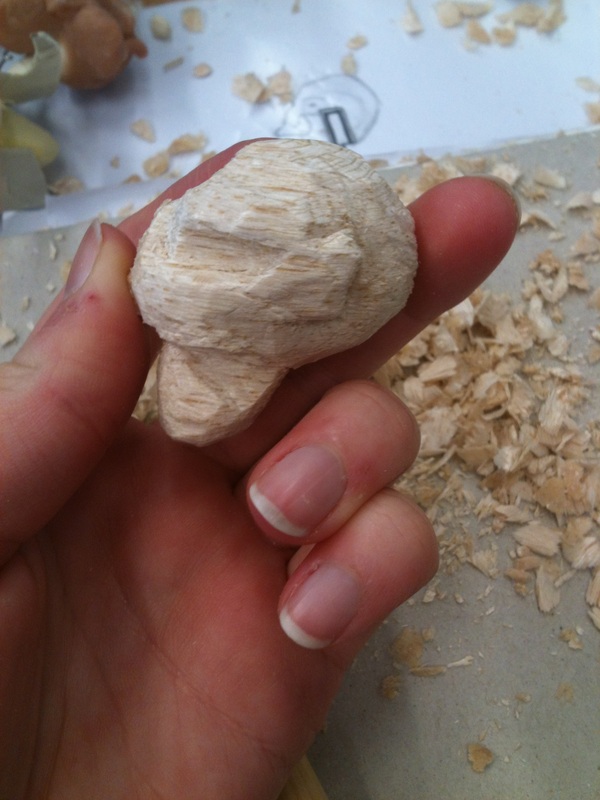
| Staining test.
| Staining
I wanted to try and stain the wood so as to give a bit more definition around specific features. After a coffee break I saved a bit of coffee at the bottom of my cup so as the use this to paint onto the wood. It worked ok but as the wood is very absorbent it tended to expand over the area I wanted it to be so I had to cut more of the wood back afterwards.
|
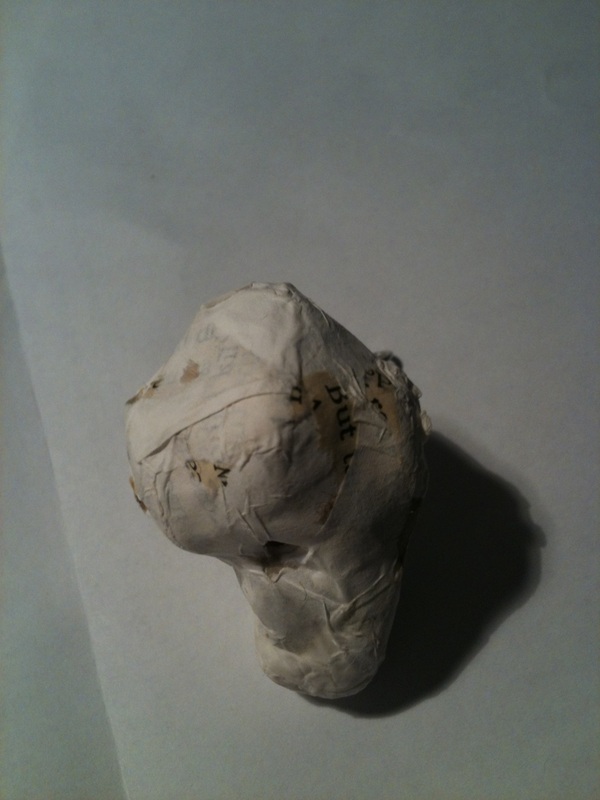
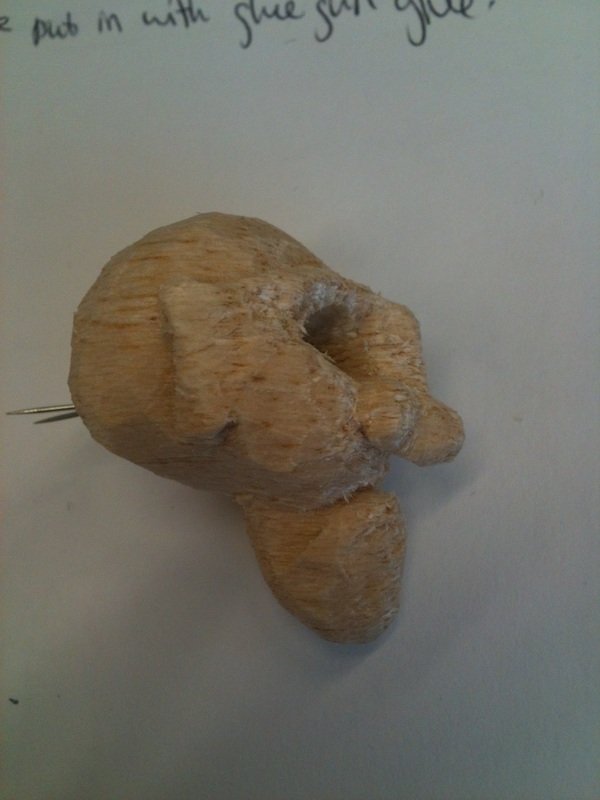
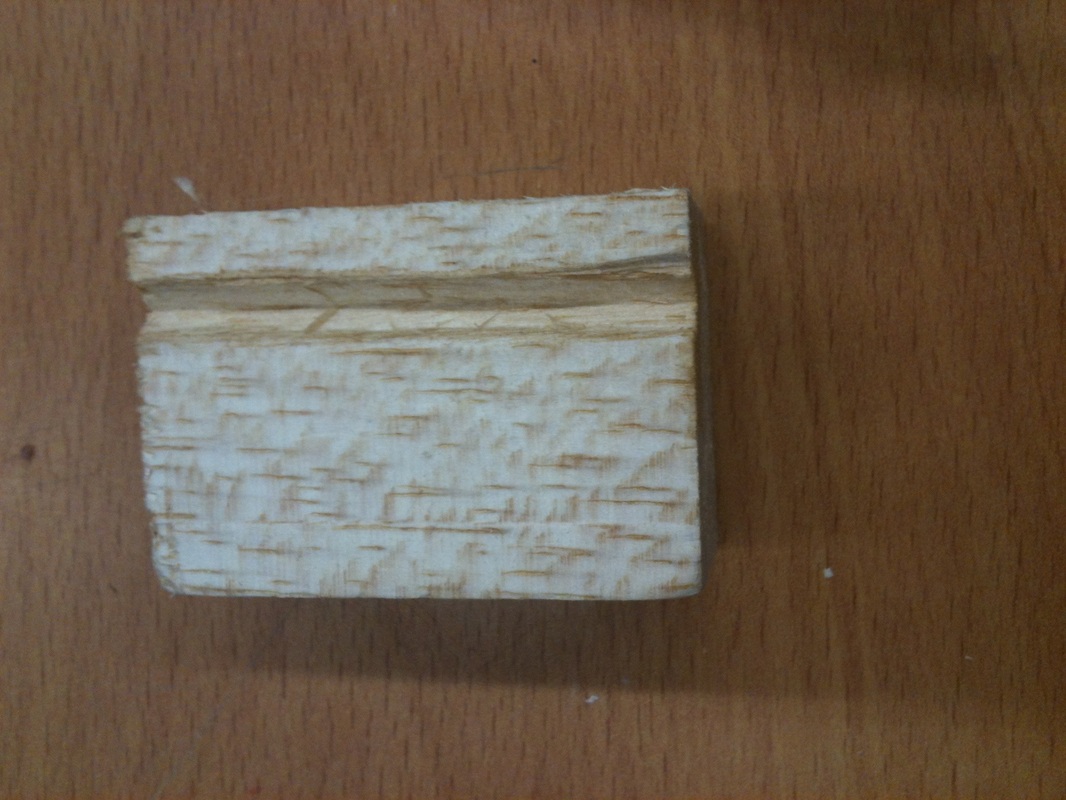
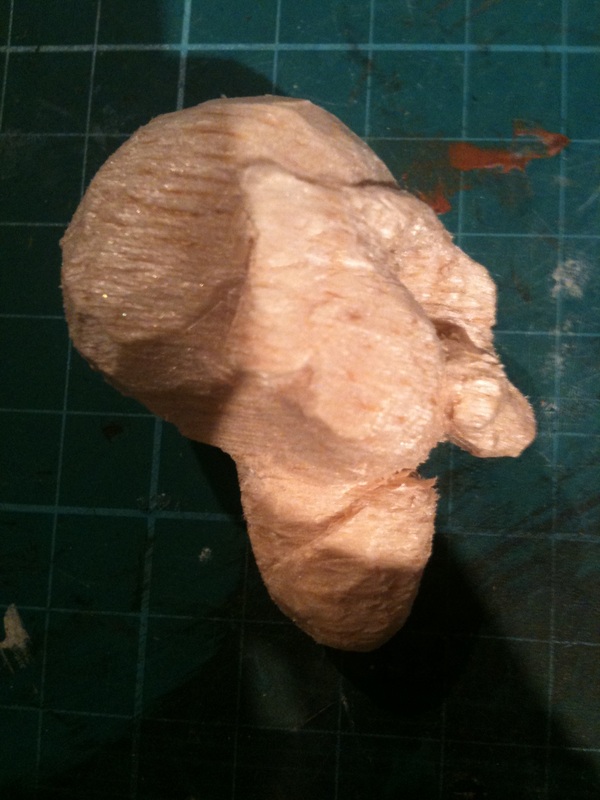
I've started to carve a head out of balsa wood, it was a material suggested to me that might work well in a previous feedback session.
Here's how I got on:
| | I really liked working with the wood, the only problem I came across which I didn't realise when I had started was that I was carving the wrong way into the wood. I had positioned the grain at the front where his face is so would do this again with it on top so as not so affect the carving. I'm not sure if this will be the material I will use yet, I still want to test other methods. The two main concerns I have for the balsa wood are whether the detail of the face will show up well under camera and what I will do about the eyes. I shall test these both!
|
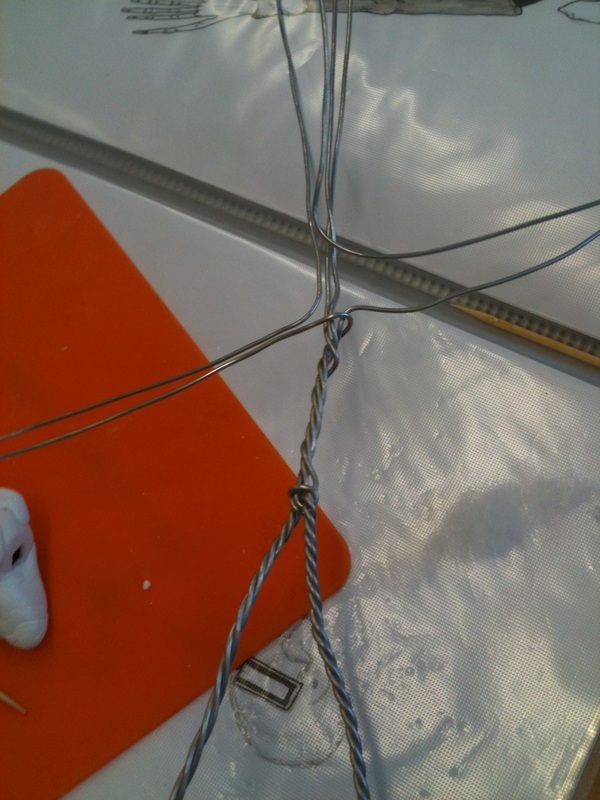
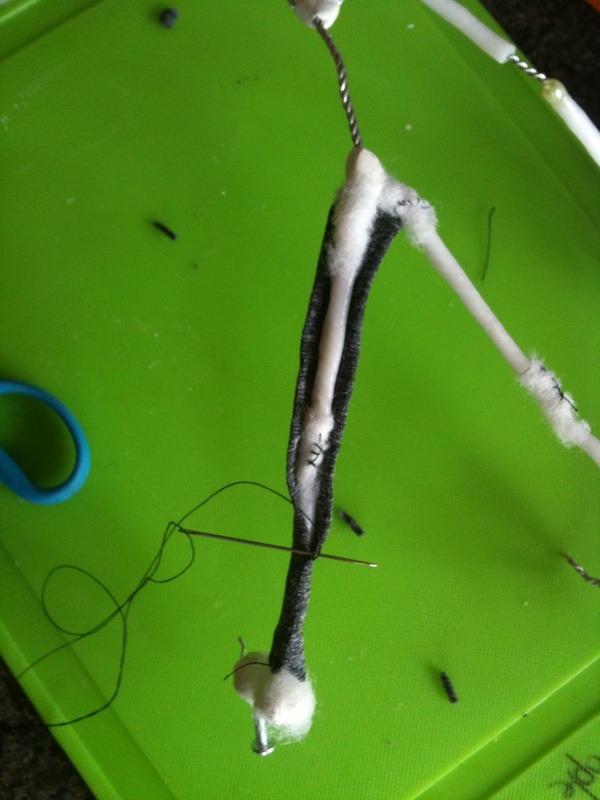
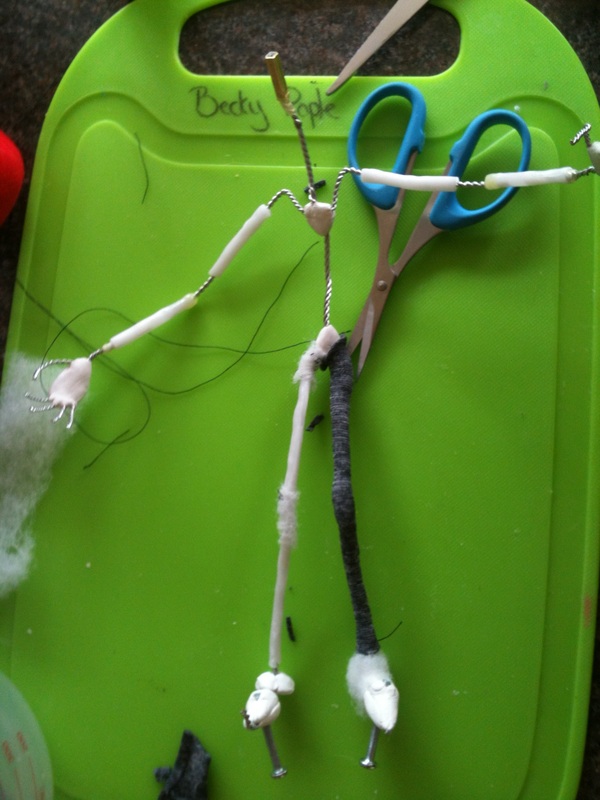
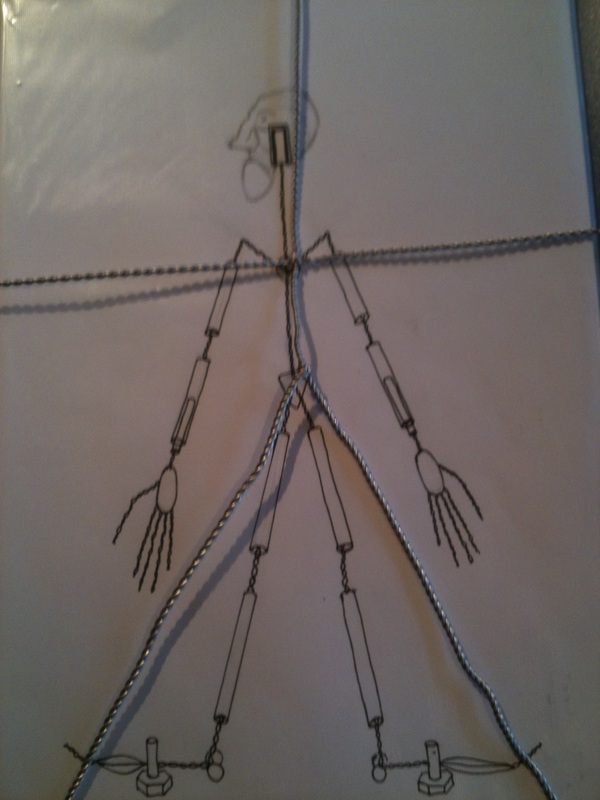
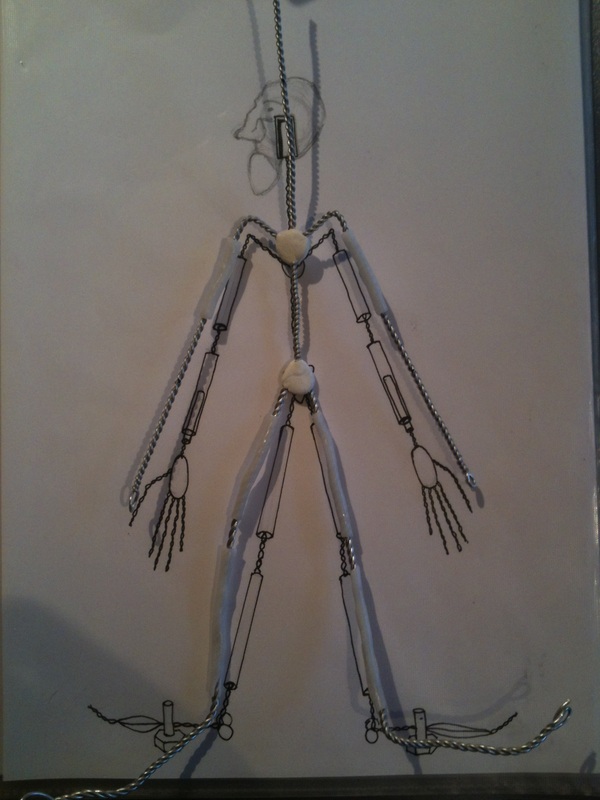
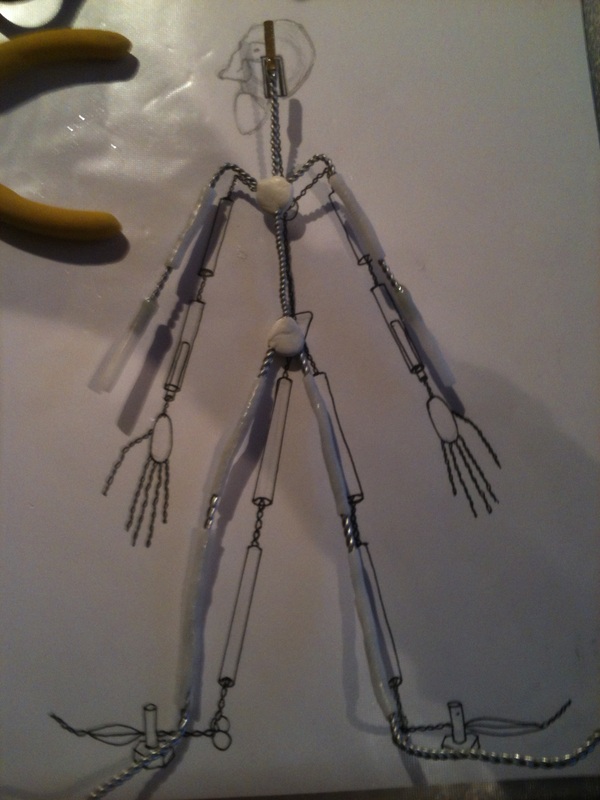
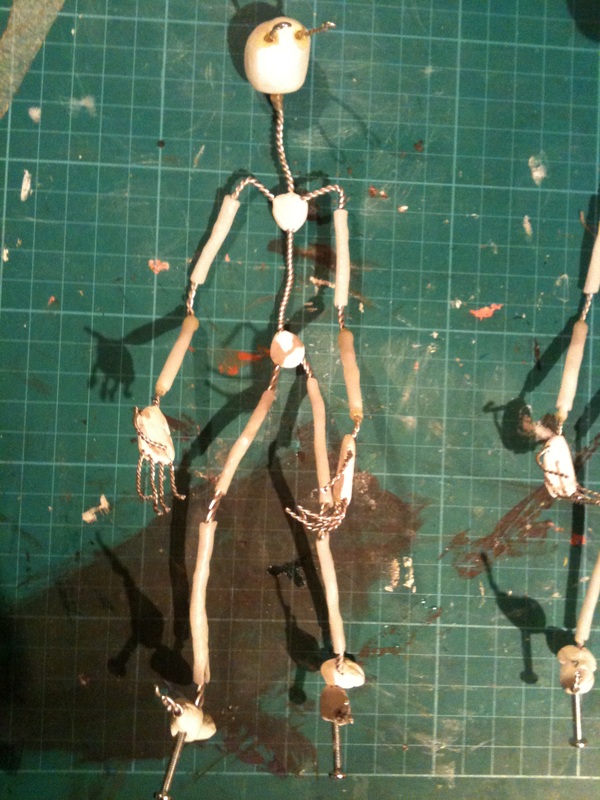
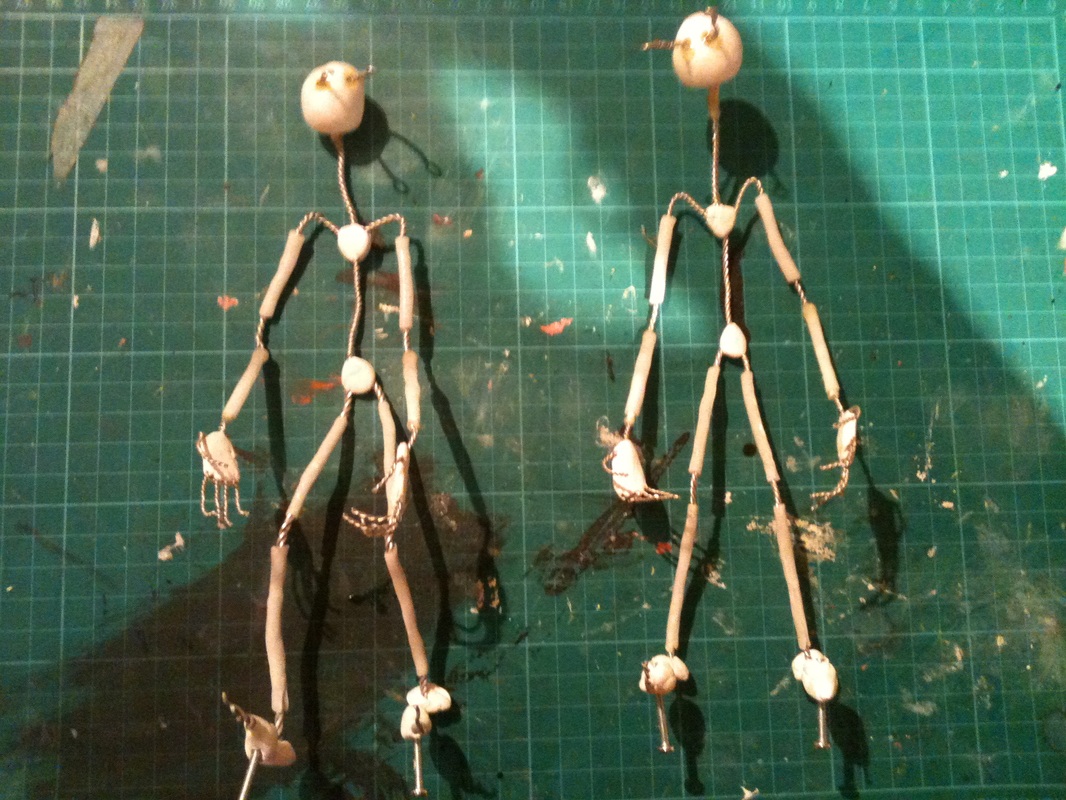
I have started making protypes following the last scale drawings that I posted up here. I have decided to make two, each out of different thickness wire so I can see which better suits my puppet.
Here are some images of the making of the armatures:
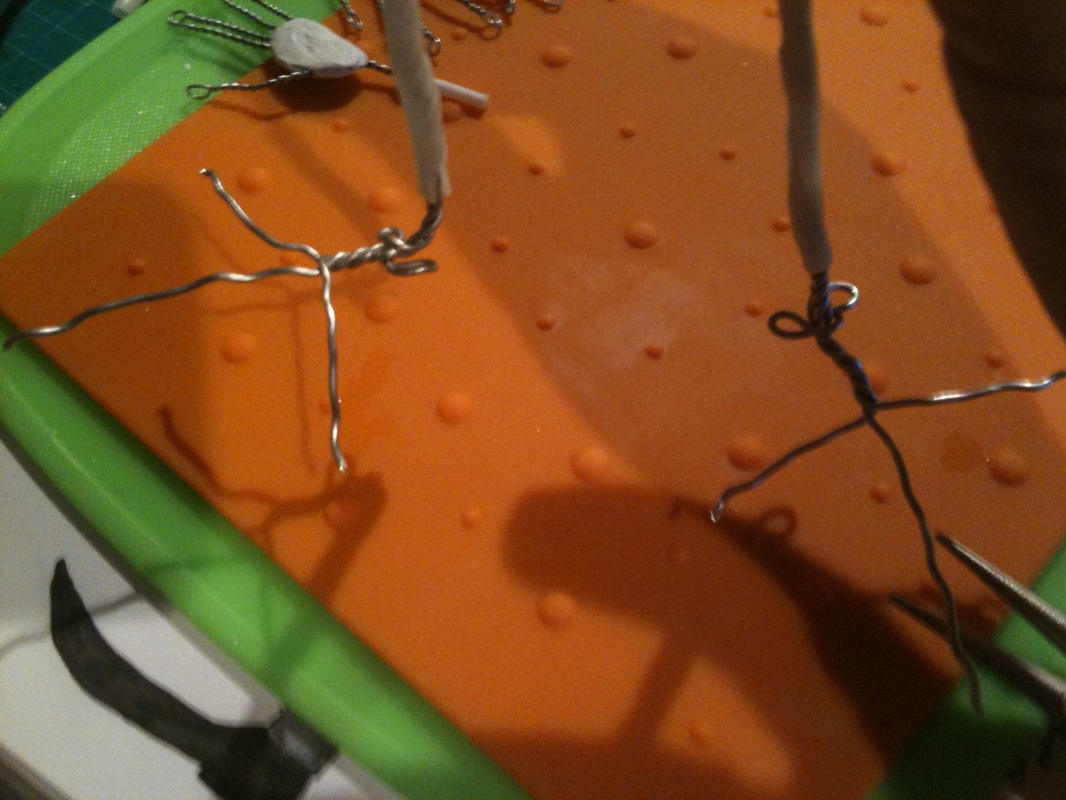
| | Above: twisting the wire
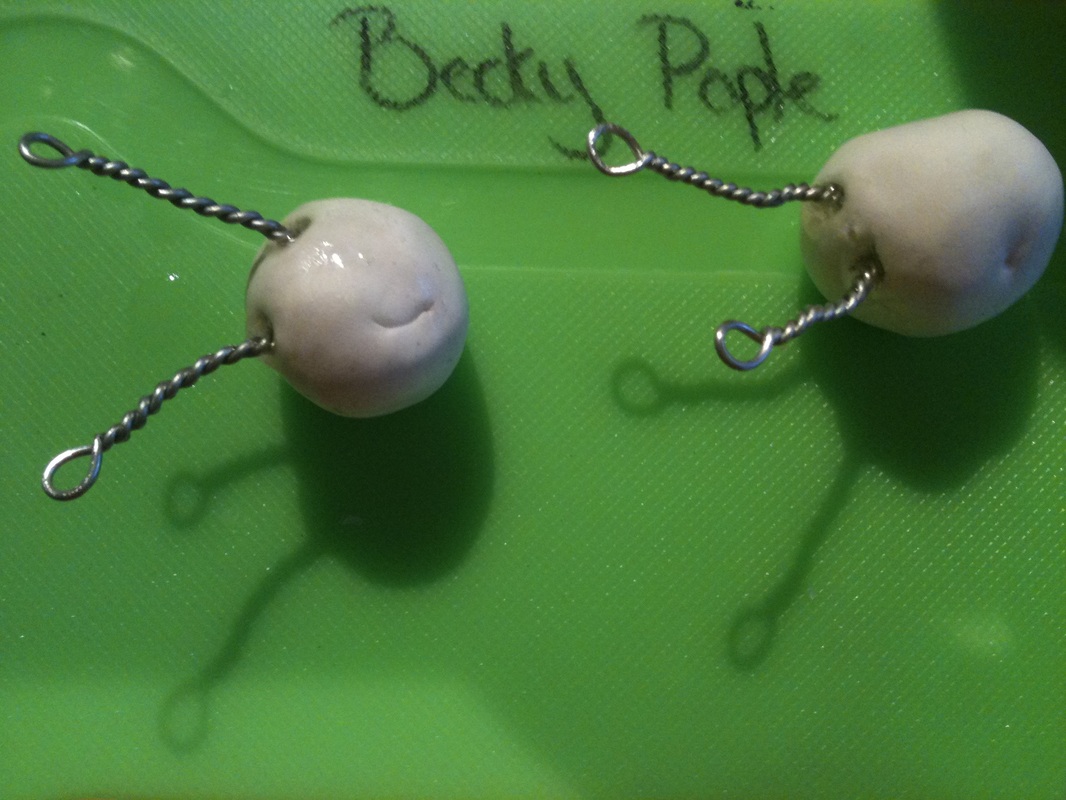
Left: applying milliput to the chest and pelvis
|
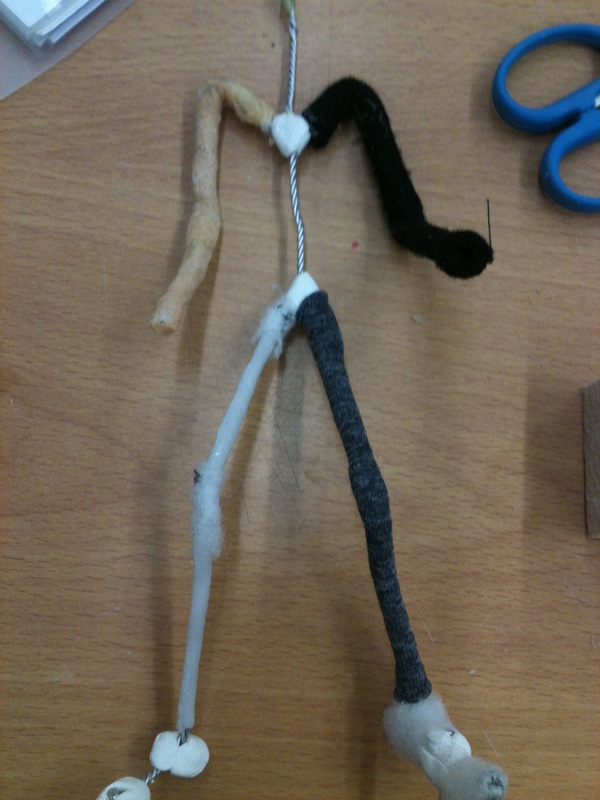
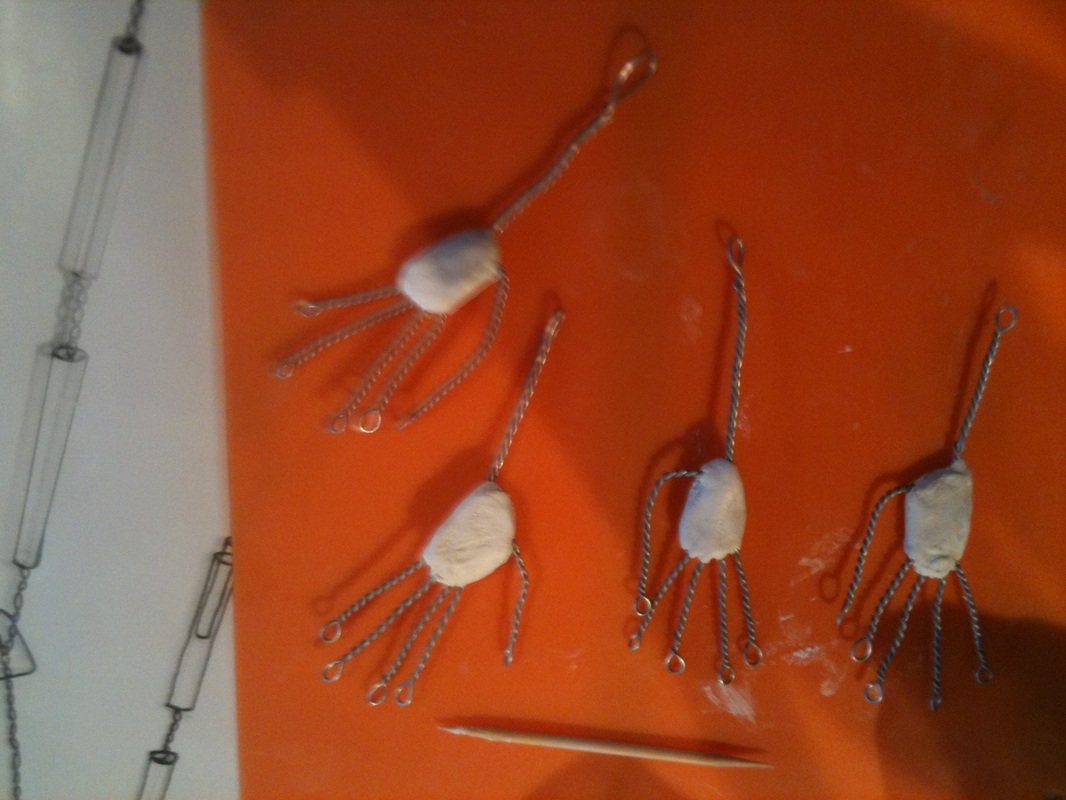
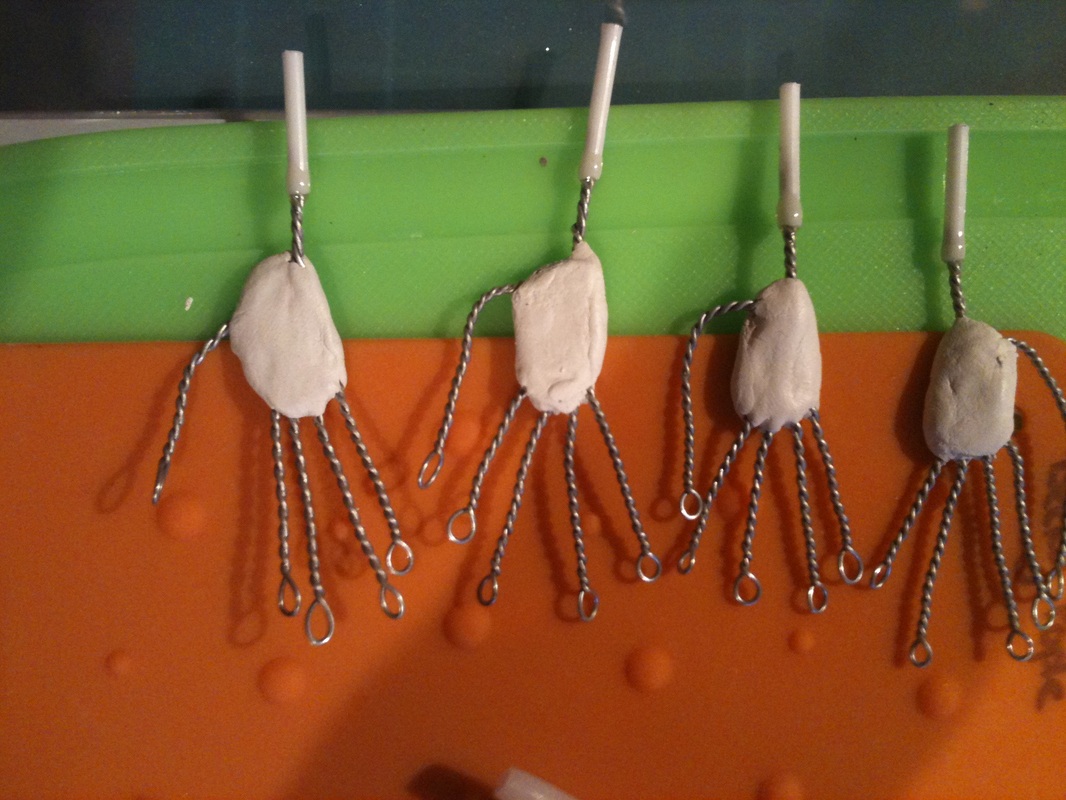
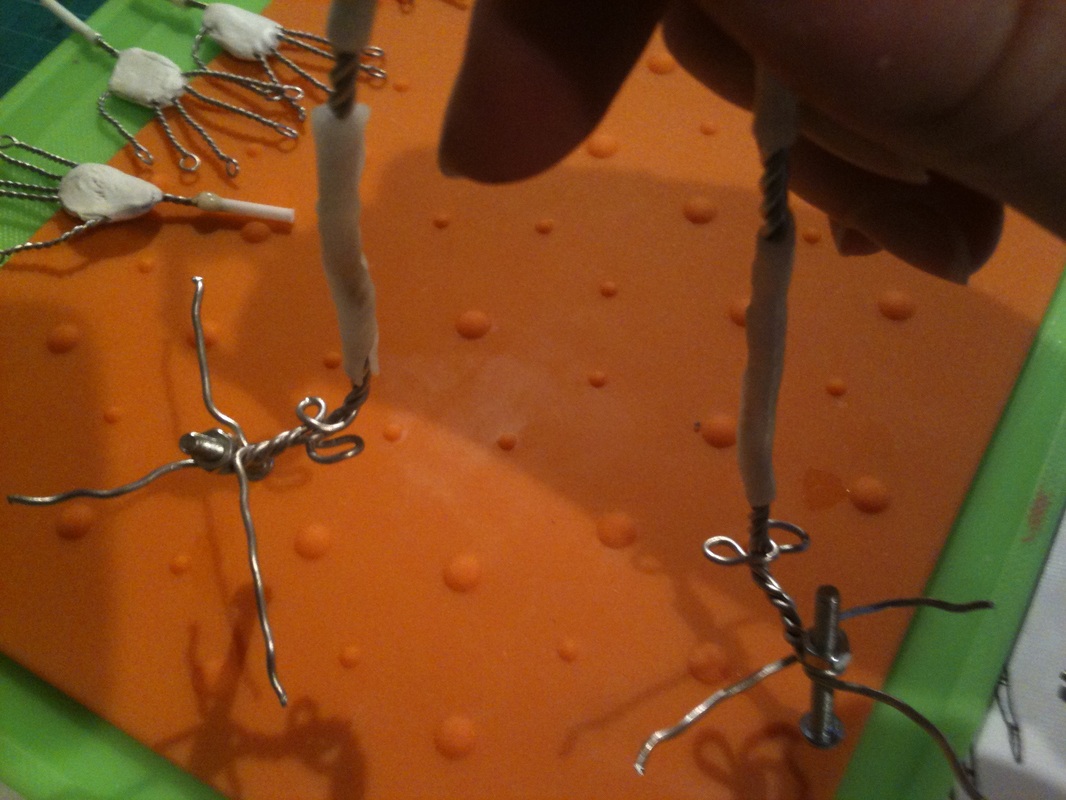
| | Left: measuring out the ploymorph bones
Above: measuring out the K&S in two different sizes
|
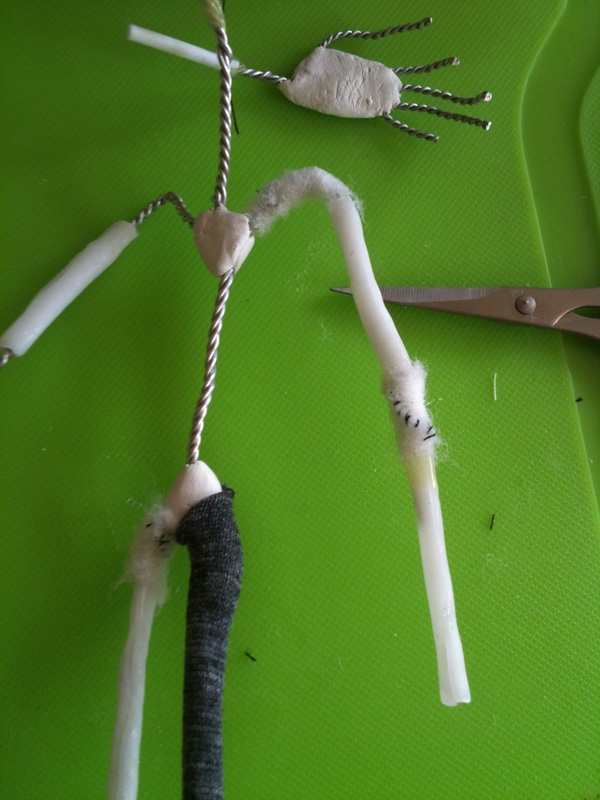
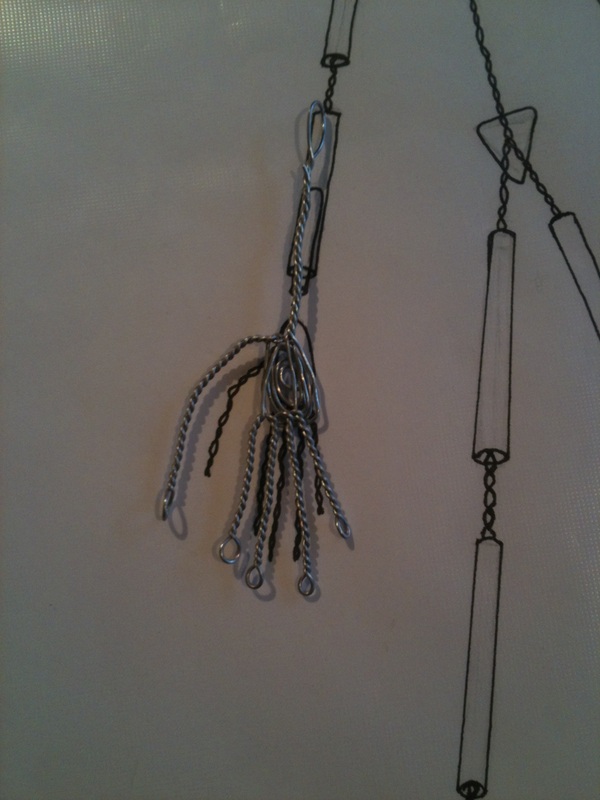
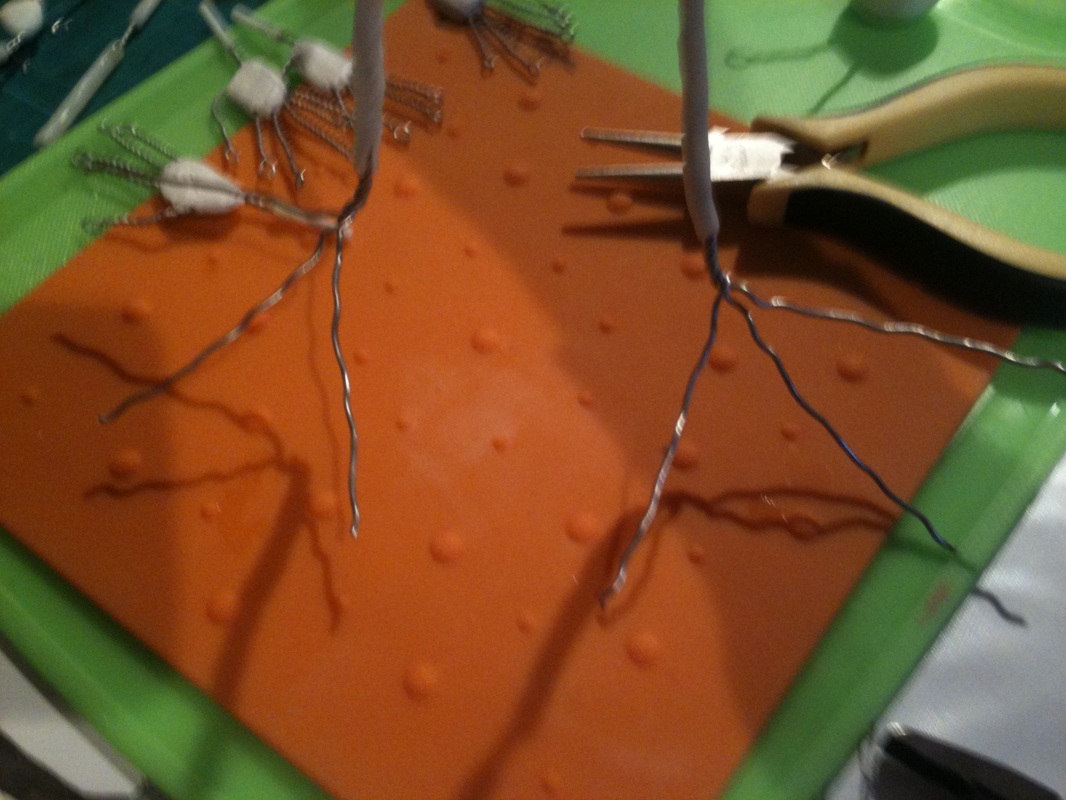
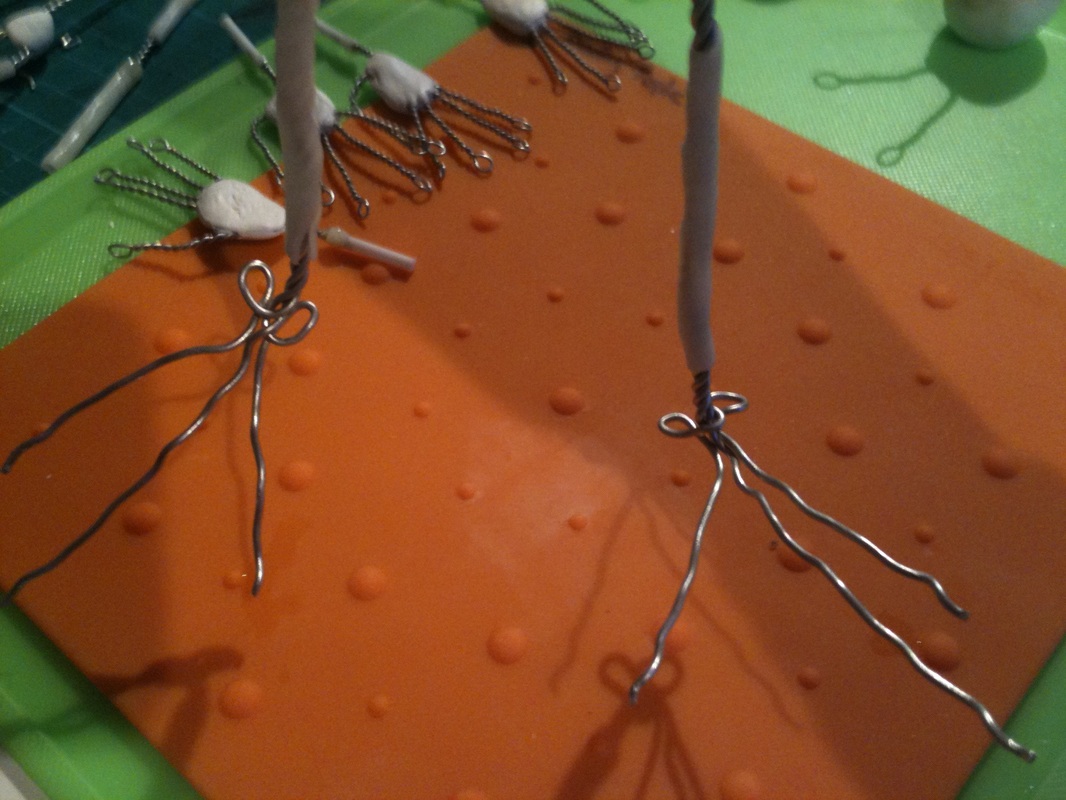
| | Left: the wire hand armature
Above: applying milliput to the palms
|
| Attaching the bones to the wire
Lightweight head core and eyebrow armature
Above: making the tie-downs in the feet
Right: the finished product
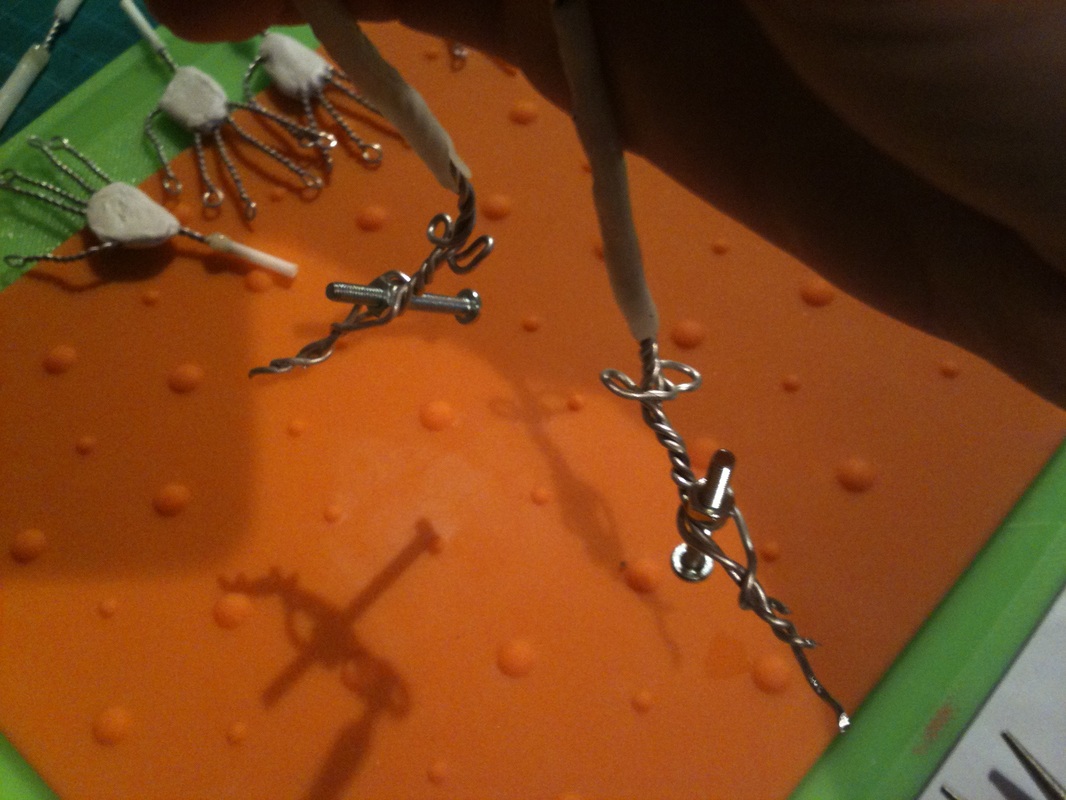
| Attaching K&S to the wrists Attaching wrist bones which contain slot for hands to attach
|
Left armature is made out of 1.2 mm wire, the right is 0.9mm.
This is the product of my day today. I've been working on a new scale drawing of the librarian puppet along with a new design for the armature. Following my previous designs with the abnormally positioned shoulder joints and finding these didn't really work, I have re-worked my design back into a more 'normal' human body shape. I have also re-worked his outfit so that the coat tails are on the back as the main shot of his whole body is from behind him and will look better on screen.
I'm still yet deciding on the design for his head armature, it depends on what materials I use to create it. If I carve his head out of balsa wood then he wont need a lightweigh core, the K and S will slot straight into this, however if it is made out of paper mache or mod roc then it will need a lightweight core for the K and S to sit in.
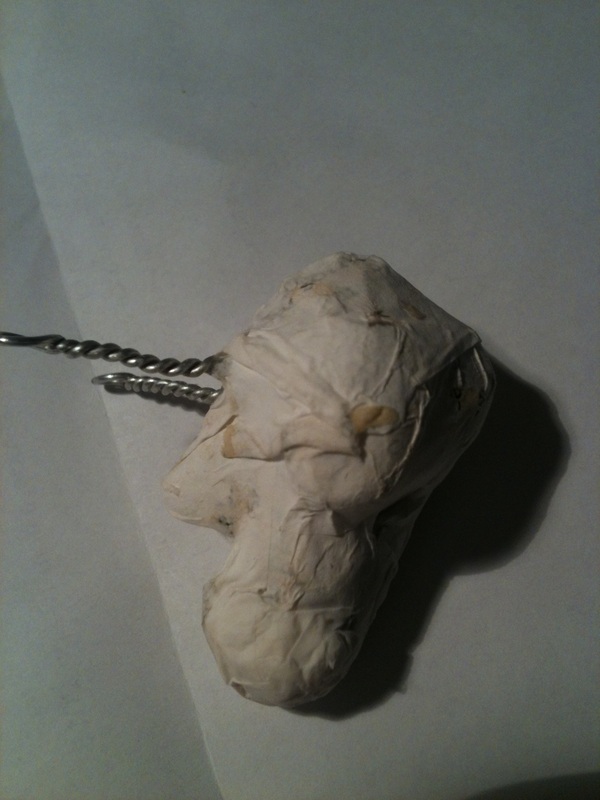
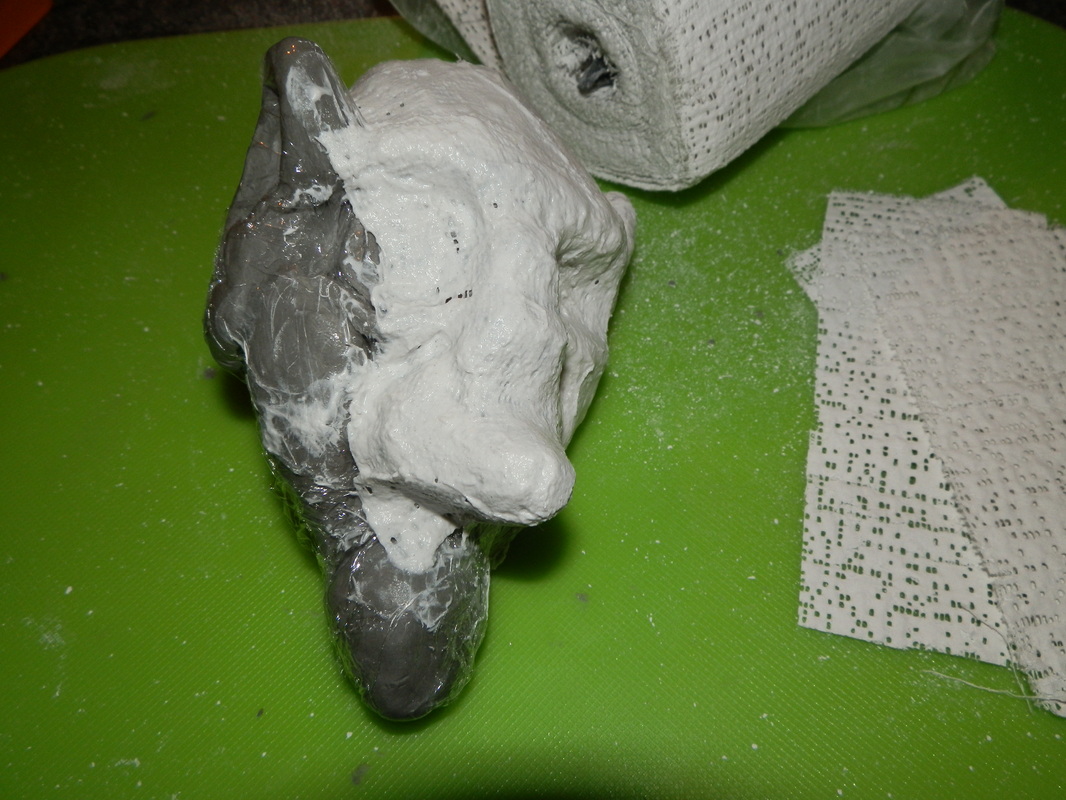
It was suggested to me in a feedback session on my work in progress that I look at making the puppets head out of something like balsa wood or paper mache which will give it a more tactile and angular feel (and will also be extremely lightwight!). I am going to try those particular methods but this got me thinking about other lightweight materials that may work well.
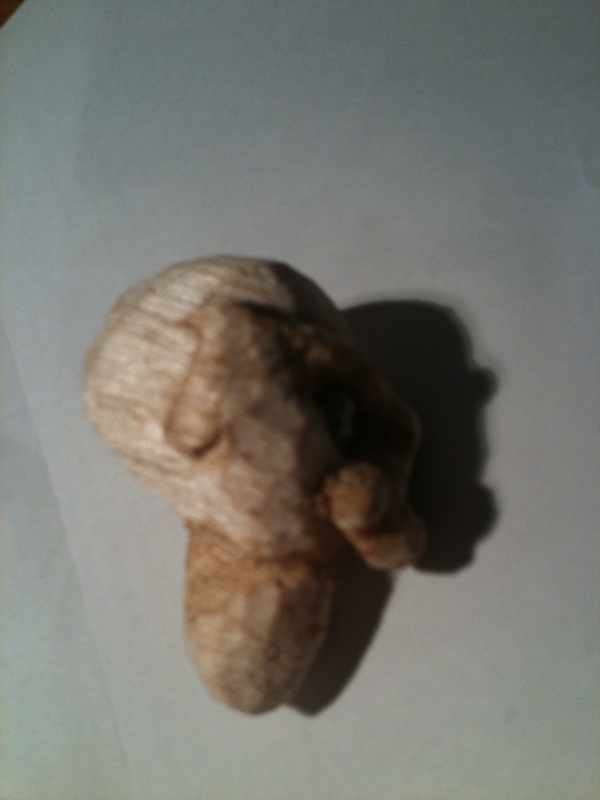
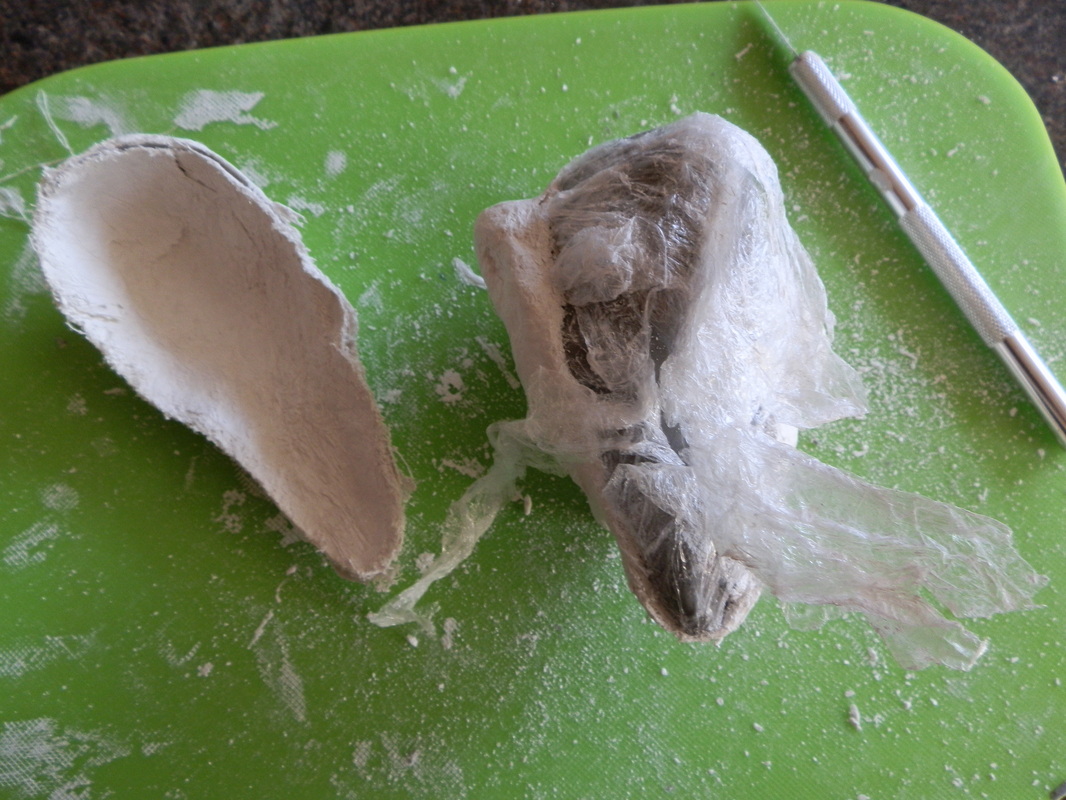
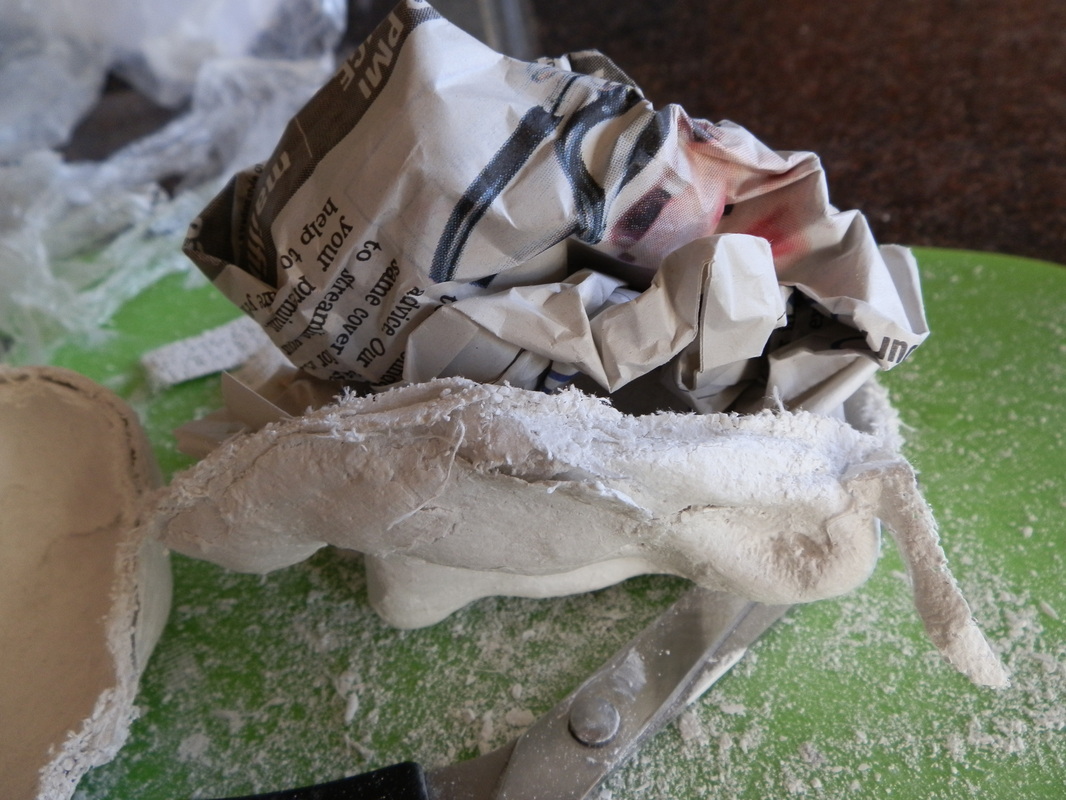
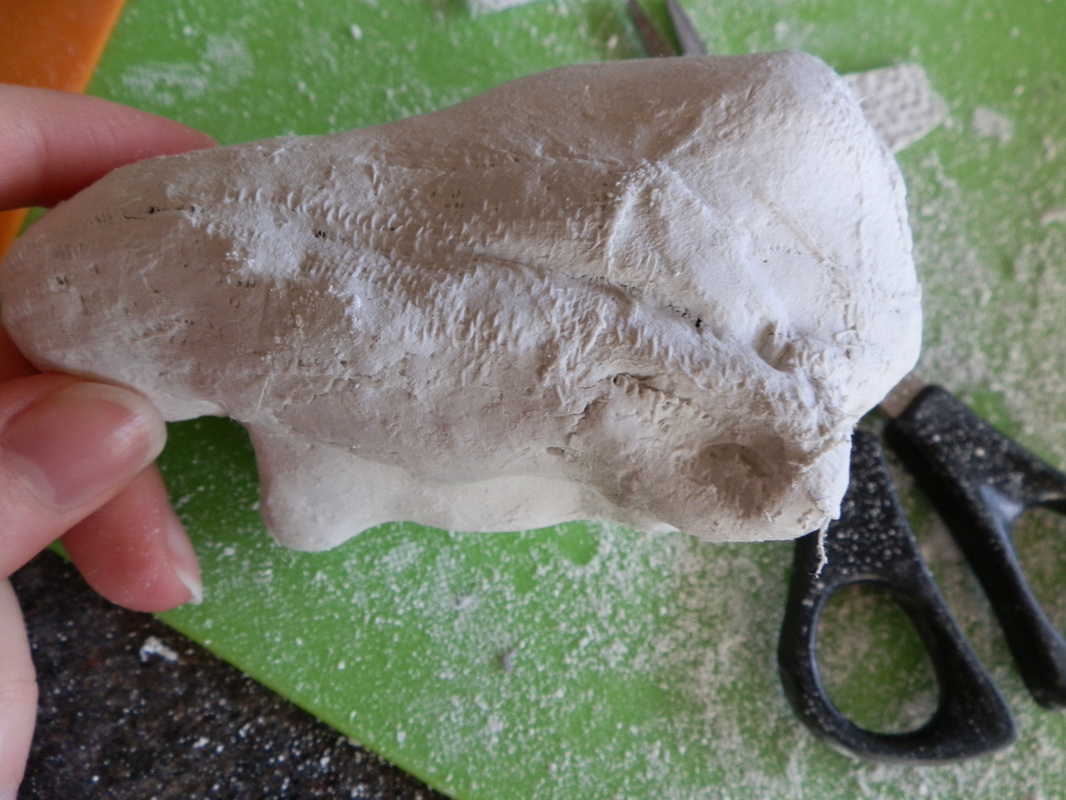
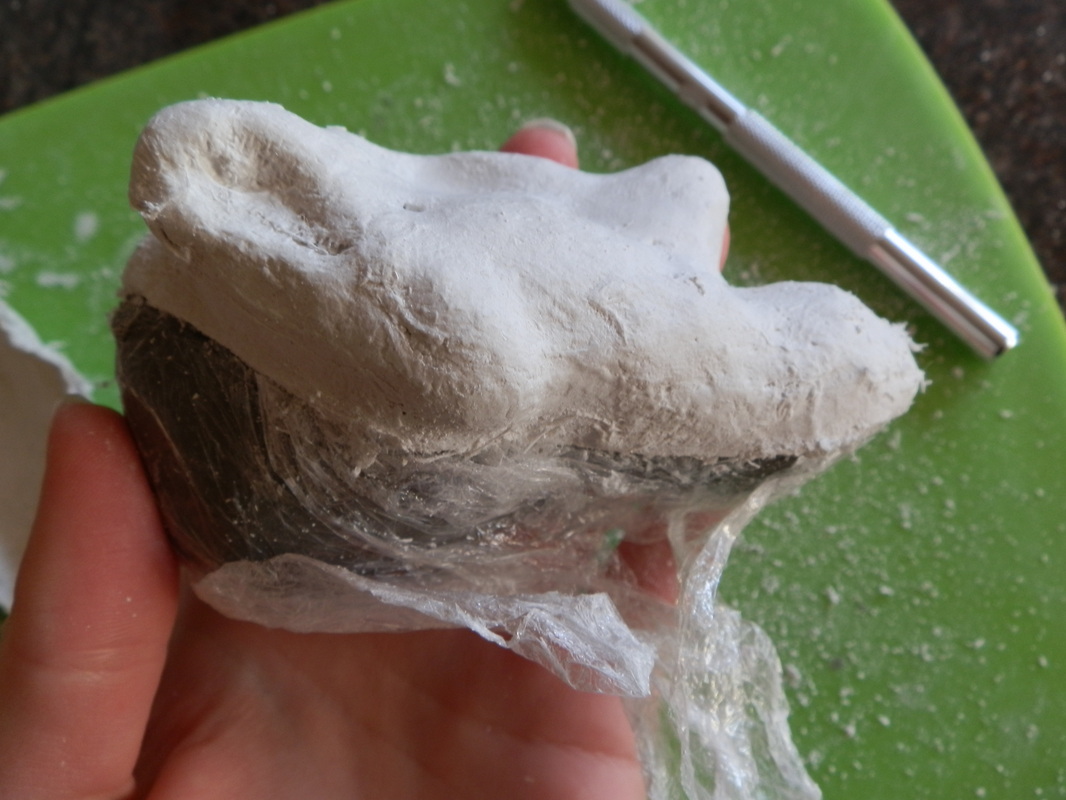
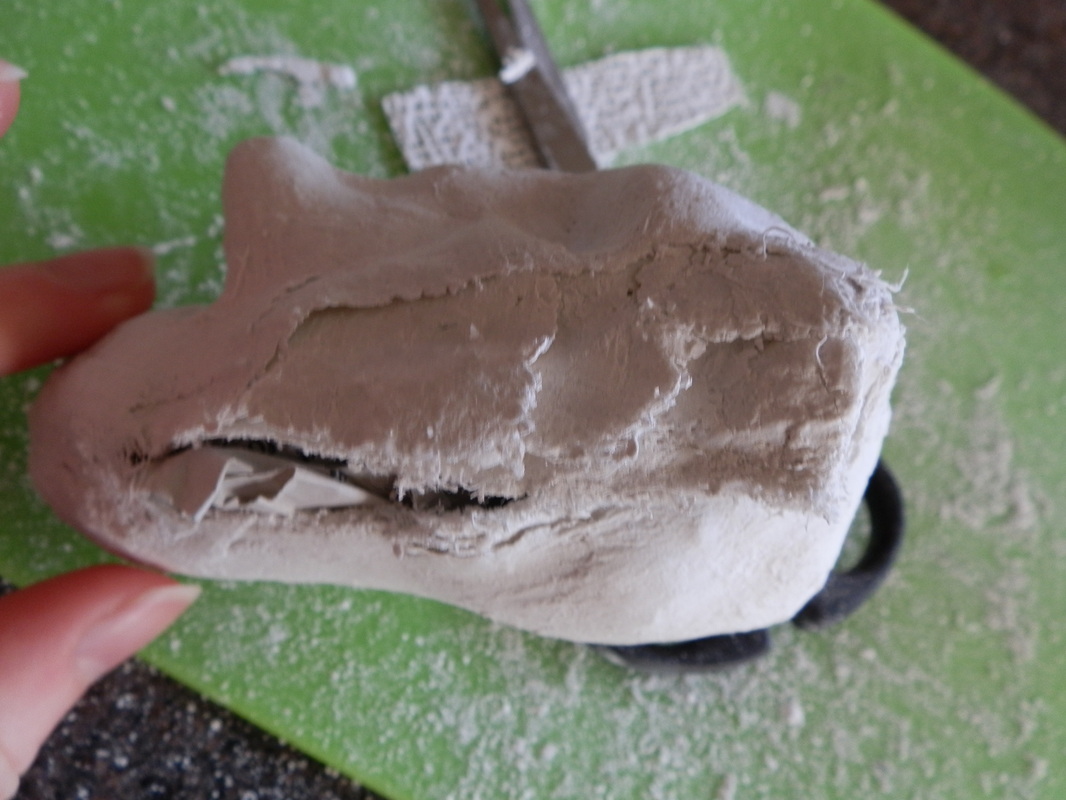
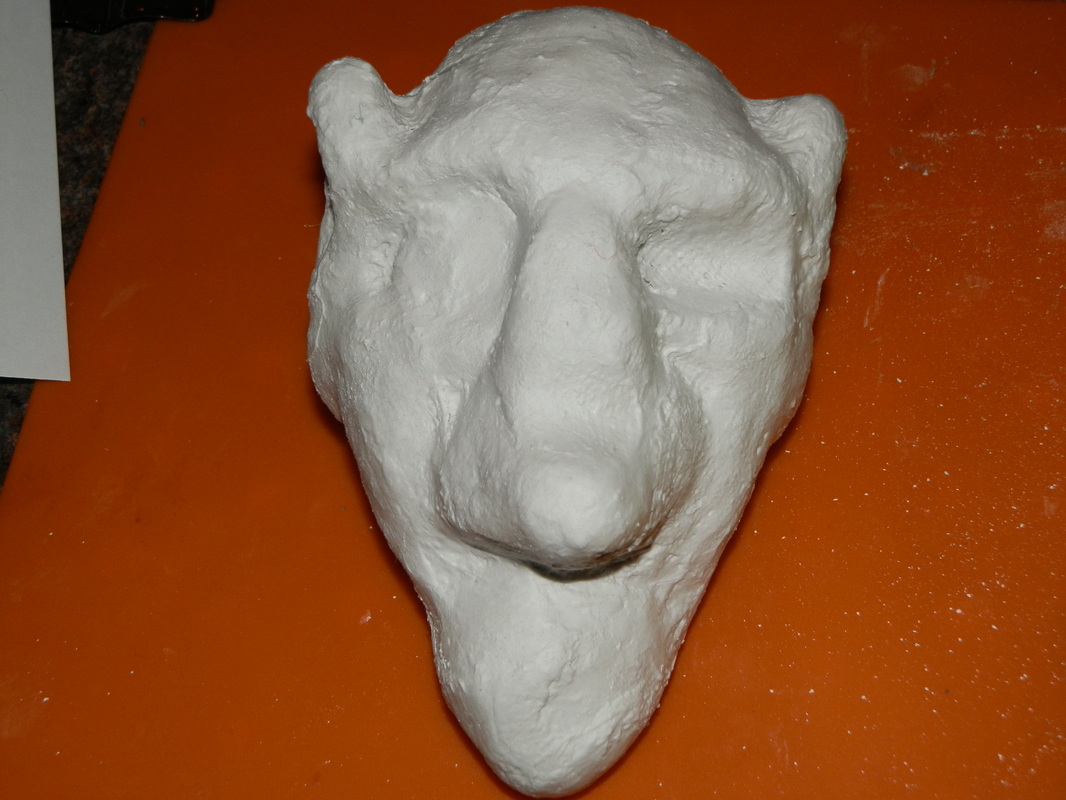
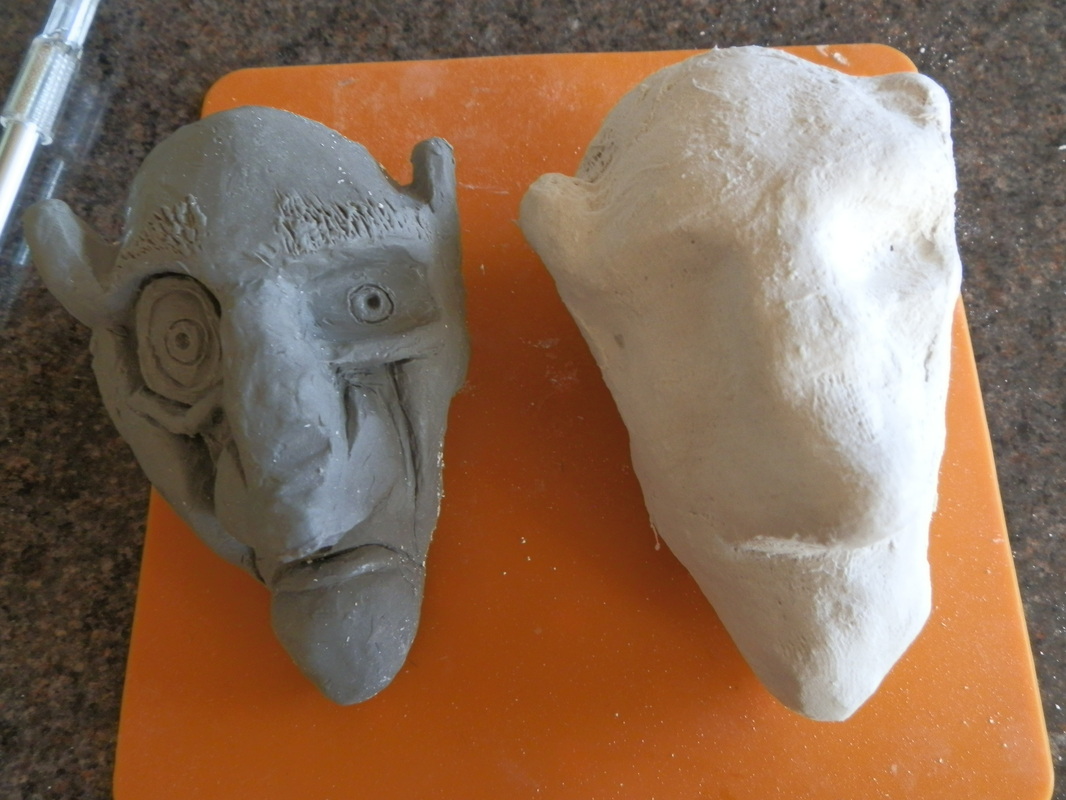
| | I have never used mod roc before but have seen it used in a previous production that I worked on so thought I'd give it a go. Seeming as I had made a sculpt I thought I would apply the mod roc straight onto this (cling film wrapped around the sculpt to protect it), let it set and then cut it open to take the sculpt out then reseal.
|
| | Although not great at intricate detail this was an extremely quick process (if you already have a sculpt made) and is extremely lightweight. I am going to build on top of this to make it look like a character so this might solve the problem of lack of detail to begin with so there will be a post again soon of how that goes...
|


 RSS Feed